What is a Spinner?
A Spinner in Android is a dropdown menu that allows users to select an item from a list. It is commonly used in forms and filters.
Step 1: Add Spinner to Your XML Layout
Open your activity_main.xml and insert the following:
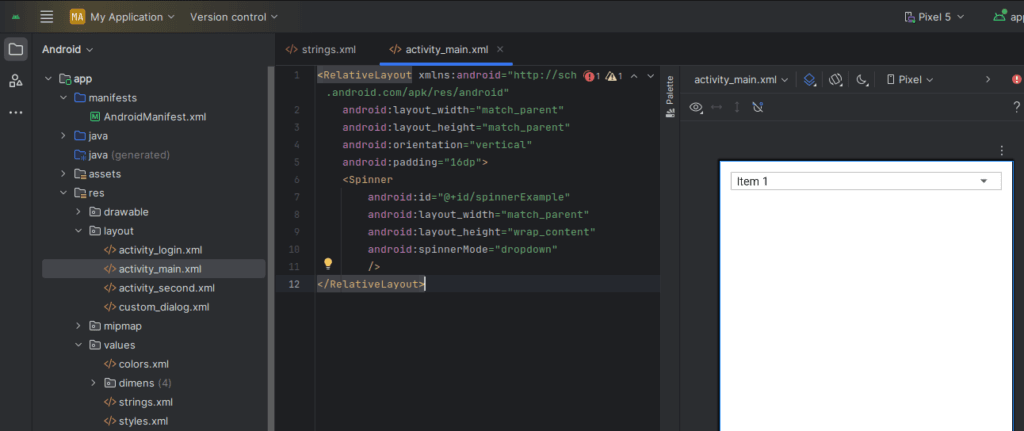
<Spinner
    android:id="@+id/spinnerExample"
    android:layout_width="match_parent"
    android:layout_height="wrap_content"
    android:spinnerMode="dropdown"
/>
Step 2: Prepare the Data for the Spinner
Create a String array in your strings.xml (located in res/values/strings.xml):
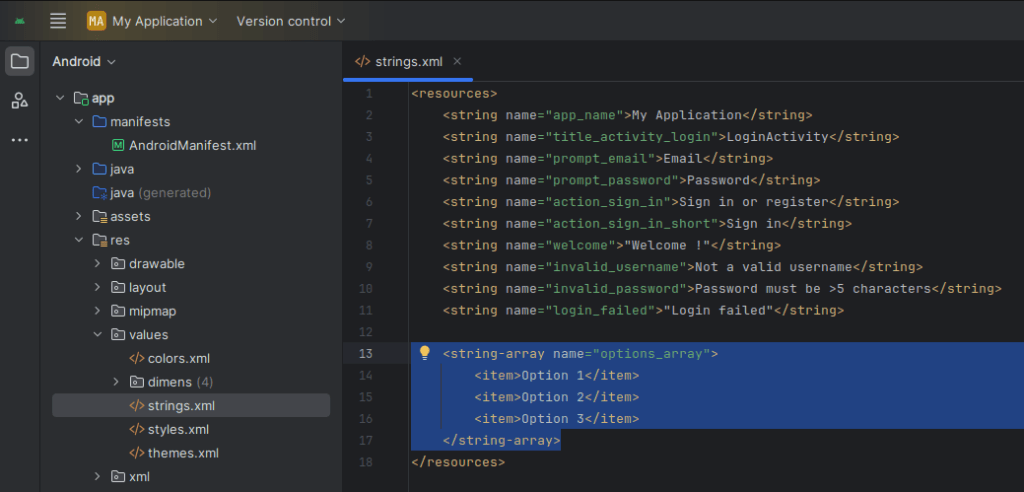
<string-array name="options_array">
    <item>Option 1</item>
    <item>Option 2</item>
    <item>Option 3</item>
</string-array>
tep 3: Set Up the Spinner in Java Code
Open your MainActivity.java file and add this:
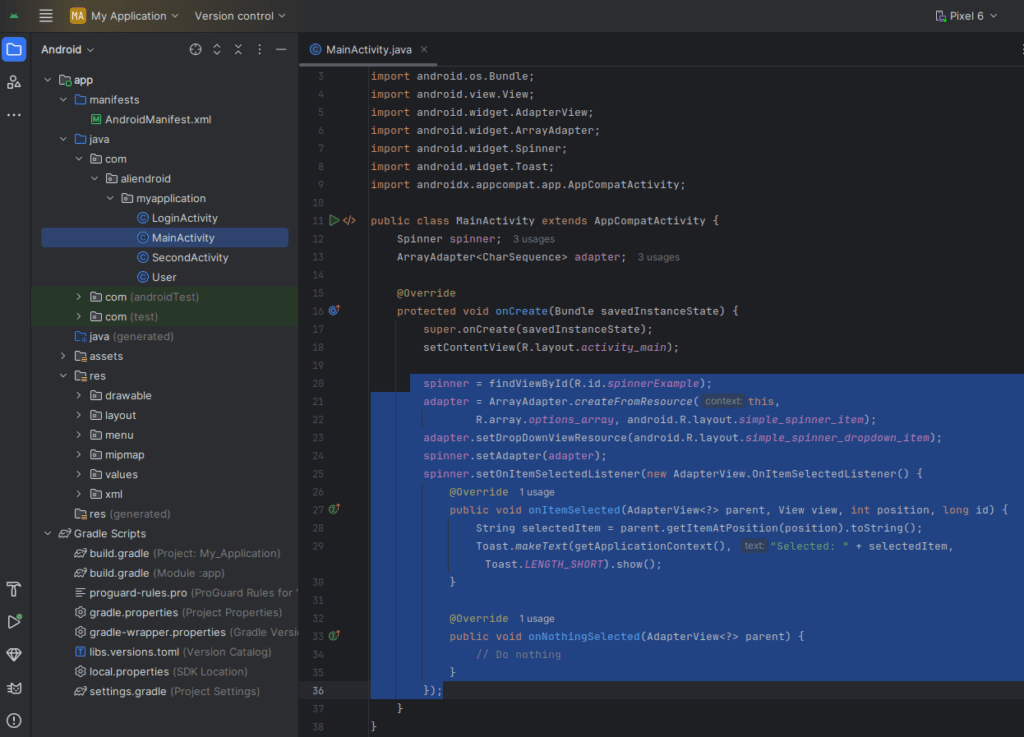

Spinner spinner;
ArrayAdapter<CharSequence> adapter;

@Override
protected void onCreate(Bundle savedInstanceState) {
    super.onCreate(savedInstanceState);
    setContentView(R.layout.activity_main);

    spinner = findViewById(R.id.spinnerExample);
    adapter = ArrayAdapter.createFromResource(this,
            R.array.options_array, android.R.layout.simple_spinner_item);
    adapter.setDropDownViewResource(android.R.layout.simple_spinner_dropdown_item);
    spinner.setAdapter(adapter);

    spinner.setOnItemSelectedListener(new AdapterView.OnItemSelectedListener() {
        @Override
        public void onItemSelected(AdapterView<?> parent, View view, int position, long id) {
            String selectedItem = parent.getItemAtPosition(position).toString();
            Toast.makeText(getApplicationContext(), "Selected: " + selectedItem, Toast.LENGTH_SHORT).show();
        }

        @Override
        public void onNothingSelected(AdapterView<?> parent) {
            // Do nothing
        }
    });
}
Result
When the app runs, the Spinner displays the dropdown menu. Upon selecting an item, a Toast message appears showing the selected option.
Tips for Custom Spinner
- Use a custom layout for dropdown items with
ArrayAdapter. - Bind data dynamically using
ArrayList<String>or from a database/API.
- Use a custom layout for dropdown items with