Connecting your XML layout views with Java code is a fundamental part of Android development. This process allows your app to interact with UI components such as buttons, text views, and image views.
Here’s a simple guide on how to use findViewById in Android Studio.
Step 1: Define Views in XML
Create your layout in the res/layout/activity_main.xml file. Here’s an example:
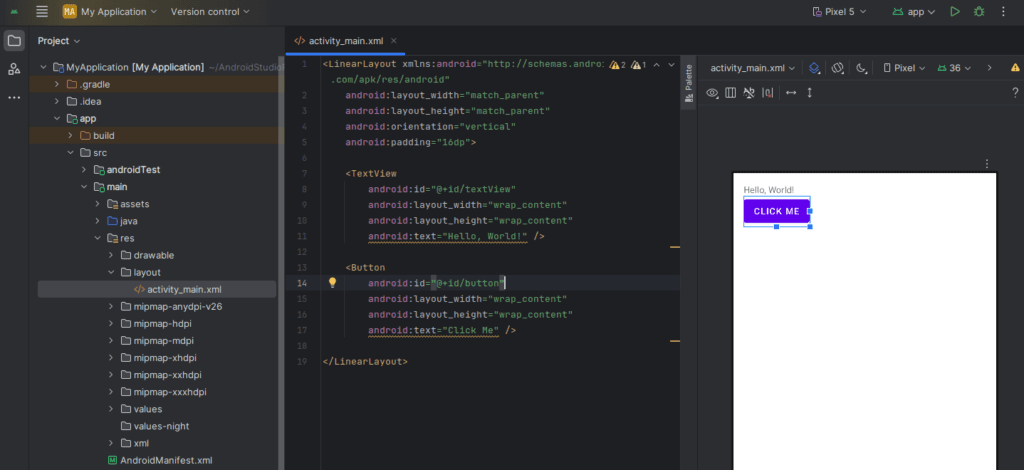
<LinearLayout xmlns:android="http://schemas.android.com/apk/res/android"
    android:layout_width="match_parent"
    android:layout_height="match_parent"
    android:orientation="vertical"
    android:padding="16dp">

    <TextView
        android:id="@+id/textView"
        android:layout_width="wrap_content"
        android:layout_height="wrap_content"
        android:text="Hello, World!" />

    <Button
        android:id="@+id/button"
        android:layout_width="wrap_content"
        android:layout_height="wrap_content"
        android:text="Click Me" />

</LinearLayout>
Step 2: Connect Views in Java
In your Java file (MainActivity.java), connect the XML views using findViewById():
package com.example.myapp;

import android.os.Bundle;
import android.view.View;
import android.widget.Button;
import android.widget.TextView;
import androidx.appcompat.app.AppCompatActivity;

public class MainActivity extends AppCompatActivity {

    TextView textView;
    Button button;

    @Override
    protected void onCreate(Bundle savedInstanceState) {
        super.onCreate(savedInstanceState);
        setContentView(R.layout.activity_main);

        // Connecting XML views to Java
        textView = findViewById(R.id.textView);
        button = findViewById(R.id.button);

        // Set an action for the button
        button.setOnClickListener(new View.OnClickListener() {
            @Override
            public void onClick(View v) {
                textView.setText("Button Clicked!");
            }
        });
    }
}
Key Tips:
- Always use
R.id.view_idto reference the XML view. - Ensure the view IDs in XML and Java match exactly.
- Use
setContentView()before callingfindViewById.
- Always use
Troubleshooting Common Errors:
- NullPointerException: Make sure
findViewByIdis called aftersetContentView(). - Cannot Resolve Symbol: Double-check that the ID in Java matches the one in XML.
- Missing Imports: Use
Alt + Enterto auto-import missing classes in Android Studio.
- NullPointerException: Make sure
Conclusion:
Using findViewById is the traditional way to bind XML UI elements to Java logic in Android. Although newer methods like View Binding and Data Binding exist, findViewById remains a useful and simple approach for beginners.