When building Android apps, understanding how layouts work is essential for creating clean and user-friendly interfaces. Two of the most commonly used layouts are LinearLayout and RelativeLayout. This guide explains the differences, use cases, and advantages of each layout type.
What is LinearLayout?
LinearLayout is a view group that aligns all children in a single direction — either vertically or horizontally.
Key Features:
- Arranges elements in a linear direction (vertical or horizontal).
- You can use
layout_weightto control how space is distributed. - Simple and predictable structure.
Example:
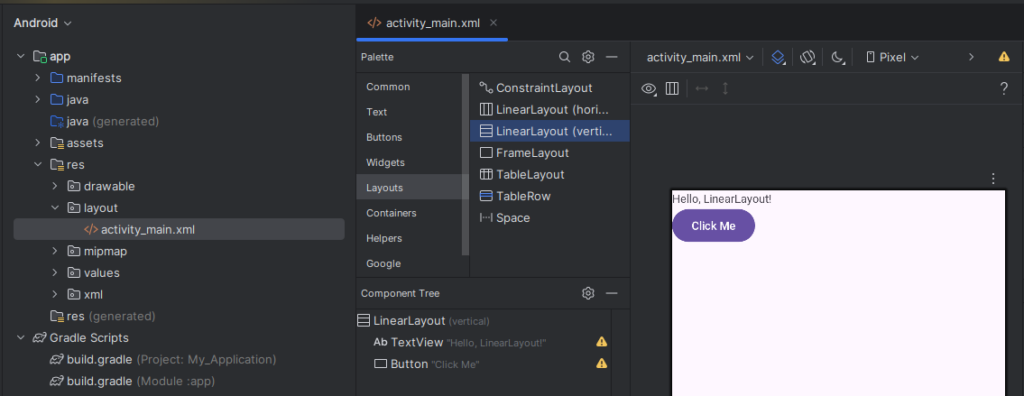
<LinearLayout
    xmlns:android="http://schemas.android.com/apk/res/android"
    android:layout_width="match_parent"
    android:layout_height="match_parent"
    android:orientation="vertical">

    <TextView
        android:layout_width="wrap_content"
        android:layout_height="wrap_content"
        android:text="Hello, LinearLayout!" />

    <Button
        android:layout_width="wrap_content"
        android:layout_height="wrap_content"
        android:text="Click Me" />
</LinearLayout>
What is RelativeLayout?
RelativeLayout allows child views to be positioned relative to each other or to the parent container.
Key Features:
- More flexible than LinearLayout.
- Suitable for complex layouts with overlapping elements or precise alignment.
- Reduces nesting of views compared to using multiple LinearLayouts.
Example:
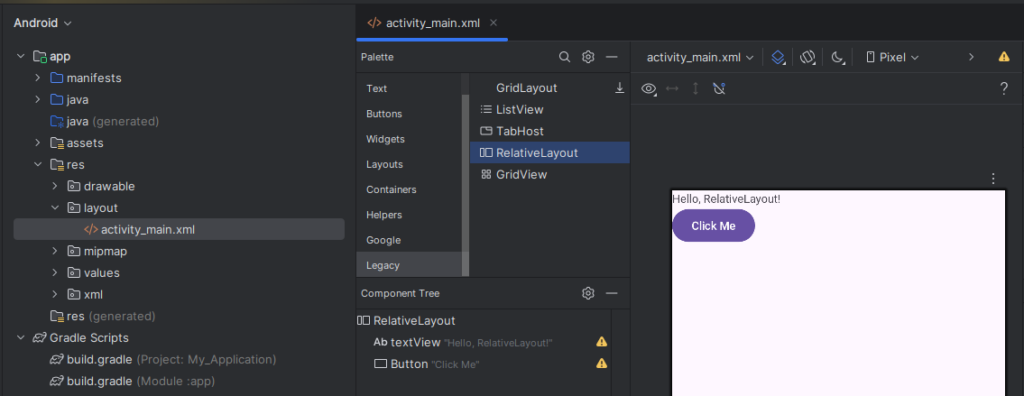
<RelativeLayout
    xmlns:android="http://schemas.android.com/apk/res/android"
    android:layout_width="match_parent"
    android:layout_height="match_parent">

    <TextView
        android:id="@+id/textView"
        android:layout_width="wrap_content"
        android:layout_height="wrap_content"
        android:text="Hello, RelativeLayout!" />

    <Button
        android:layout_width="wrap_content"
        android:layout_height="wrap_content"
        android:layout_below="@id/textView"
        android:text="Click Me" />
</RelativeLayout>
When to Use LinearLayout vs RelativeLayout
| Feature | LinearLayout | RelativeLayout |
|---|---|---|
| Simplicity | Best for simple layouts | Suitable for complex layouts |
| Layout Nesting | May require multiple nested layouts | Reduces the need for nesting |
| Performance | Slightly faster in simple cases | More efficient with fewer children |
| Flexibility | Limited to linear arrangement | Offers advanced positioning |
Conclusion
Choosing between LinearLayout and RelativeLayout depends on your layout complexity and performance goals. Use LinearLayout for simpler UIs, and RelativeLayout when more flexibility and positioning control is needed.