In Android development using Java, handling exceptions is critical to ensure your app doesn’t crash when unexpected errors occur. This guide explains how to use try-catch blocks effectively in Android Studio using Java.
What is Exception Handling?
Exception Handling is a mechanism that allows you to gracefully handle runtime errors. It prevents the abrupt termination of your program and provides a way to respond to unexpected events.
Basic Syntax of Try-Catch in Java
try {
    // Code that might throw an exception
} catch (ExceptionType name) {
    // Code that handles the exception
}
Example:
try {
    int result = 10 / 0; // This will throw ArithmeticException
} catch (ArithmeticException e) {
    Log.e("Error", "Division by zero is not allowed: " + e.getMessage());
}
Real-World Android Example
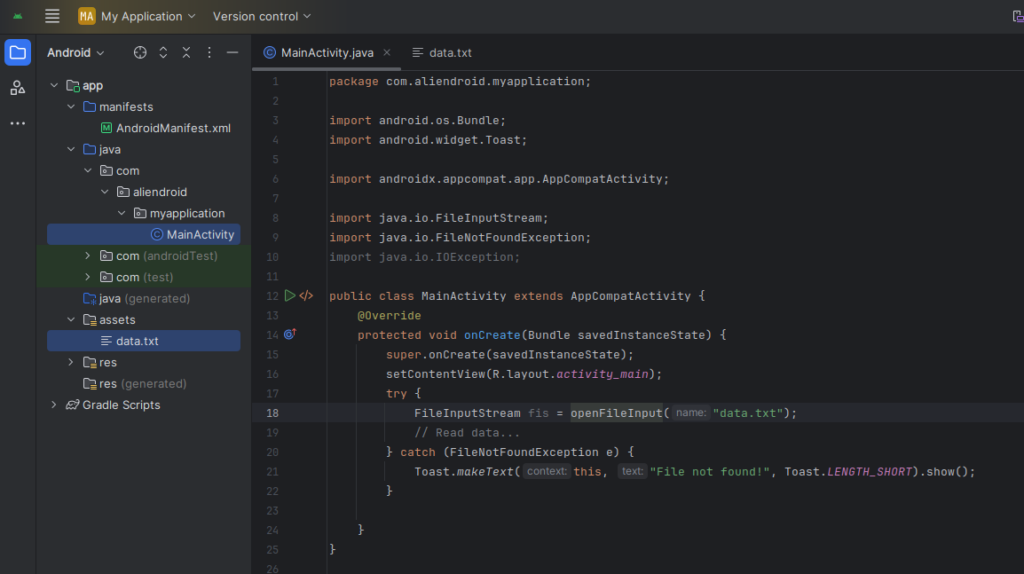
try {
    FileInputStream fis = openFileInput("data.txt");
    // Read data...
} catch (FileNotFoundException e) {
    Toast.makeText(this, "File not found!", Toast.LENGTH_SHORT).show();
} catch (IOException e) {
    Toast.makeText(this, "Error reading file!", Toast.LENGTH_SHORT).show();
}
Best Practices
- Catch Specific Exceptions First: Avoid using generic
Exceptionunless absolutely necessary. - Never Leave Catch Block Empty: Always handle or log the exception.
- Avoid Overusing Try-Catch: Handle expected errors using logic, not exceptions.
- Use Logging: Use
Log.e()orCrashlyticsfor better debugging. - Handle UI-Related Exceptions Gracefully: Use
Toastor dialogs to inform users.
- Catch Specific Exceptions First: Avoid using generic
Common Mistakes
- Catching
Exceptioninstead of a specific exception. - Not logging the error for future debugging.
- Ignoring the exception silently (empty catch blocks).
- Catching
Conclusion
Using try-catch blocks in Java for Android Studio is essential for creating stable and user-friendly applications. Always aim for clean and precise error handling to avoid app crashes and improve user experience.