CardView is a UI component in Android that allows you to display information inside cards with consistent look and feel. It provides elevation and rounded corners, making it ideal for creating rich, material design-style layouts. CardView is often used to display a group of content such as images and text in a stylized container.
Step 1: Add Dependencies
Open your build.gradle (Module: app) and add the CardView dependency if it’s not already added:
dependencies {
    implementation 'androidx.cardview:cardview:1.0.0'
}
Sync your project after adding.
Step 2: Create XML Layout for the CardView
Create a new layout file named item_card.xml under res/layout/.

<?xml version="1.0" encoding="utf-8"?>
<androidx.cardview.widget.CardView xmlns:android="http://schemas.android.com/apk/res/android"
    xmlns:card_view="http://schemas.android.com/apk/res-auto"
    android:layout_width="match_parent"
    android:layout_height="wrap_content"
    card_view:cardCornerRadius="12dp"
    card_view:cardElevation="6dp"
    android:layout_margin="8dp">

    <LinearLayout
        android:layout_width="match_parent"
        android:layout_height="wrap_content"
        android:orientation="vertical"
        android:padding="16dp">

        <ImageView
            android:id="@+id/image"
            android:layout_width="match_parent"
            android:layout_height="180dp"
            android:scaleType="centerCrop"
            android:src="@drawable/sample_image" />

        <TextView
            android:id="@+id/title"
            android:layout_width="match_parent"
            android:layout_height="wrap_content"
            android:text="Item Title"
            android:textStyle="bold"
            android:textSize="18sp"
            android:paddingTop="8dp" />

        <TextView
            android:id="@+id/description"
            android:layout_width="match_parent"
            android:layout_height="wrap_content"
            android:text="This is a sample description for the styled item."
            android:textSize="14sp"
            android:textColor="#777" />
    </LinearLayout>
</androidx.cardview.widget.CardView>
Step 3: Create a Model Class
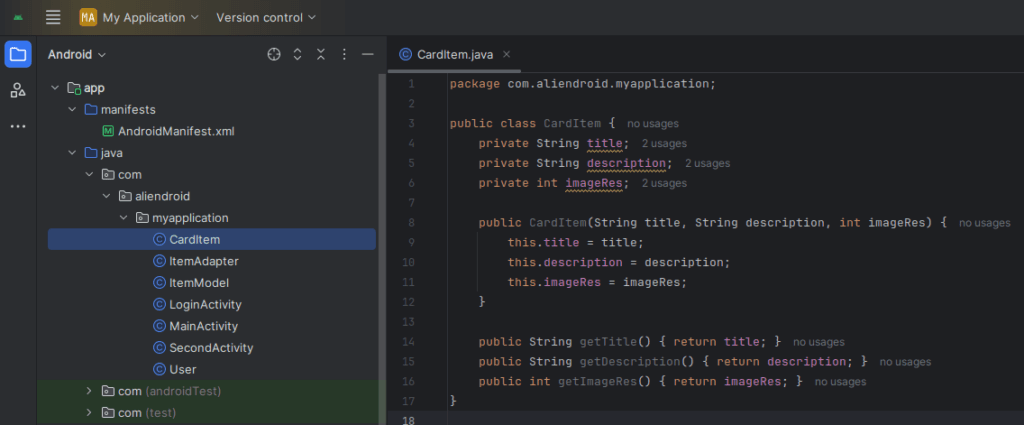
Create a new class file named CardItem.java
public class CardItem {
    private String title;
    private String description;
    private int imageRes;

    public CardItem(String title, String description, int imageRes) {
        this.title = title;
        this.description = description;
        this.imageRes = imageRes;
    }

    public String getTitle() { return title; }
    public String getDescription() { return description; }
    public int getImageRes() { return imageRes; }
}
Step 4: Create an Adapter for RecyclerView
Create a new class file named CardAdapter.java
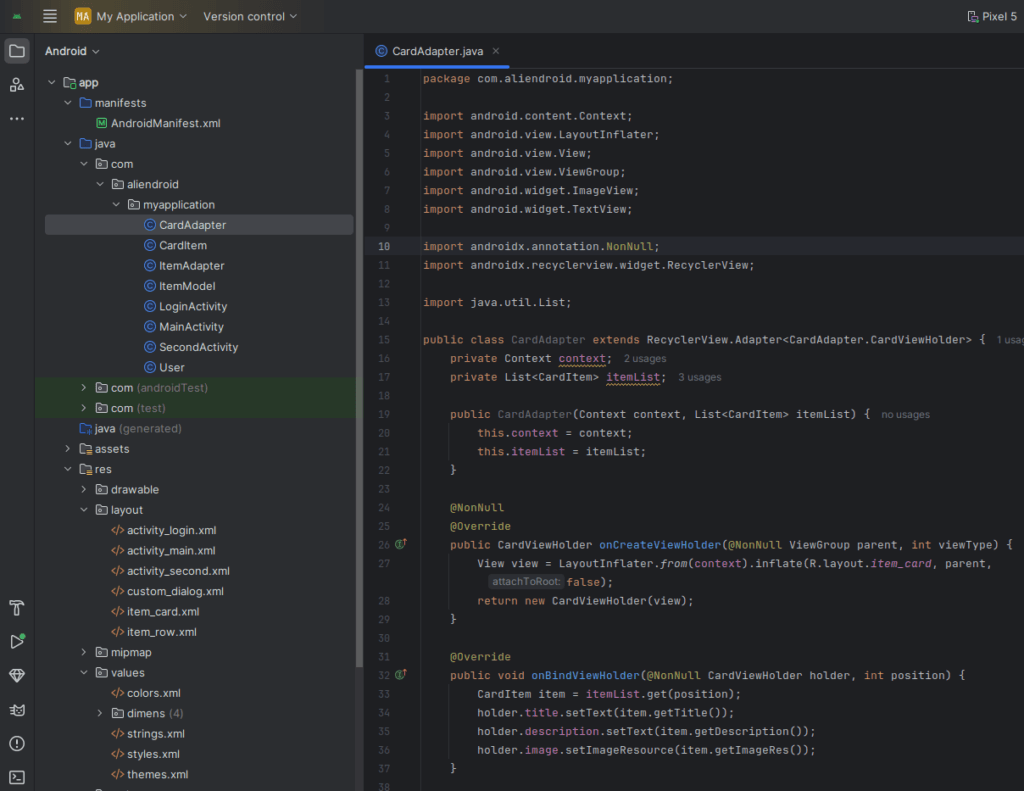
public class CardAdapter extends RecyclerView.Adapter<CardAdapter.CardViewHolder> {
    private Context context;
    private List<CardItem> itemList;

    public CardAdapter(Context context, List<CardItem> itemList) {
        this.context = context;
        this.itemList = itemList;
    }

    @NonNull
    @Override
    public CardViewHolder onCreateViewHolder(@NonNull ViewGroup parent, int viewType) {
        View view = LayoutInflater.from(context).inflate(R.layout.item_card, parent, false);
        return new CardViewHolder(view);
    }

    @Override
    public void onBindViewHolder(@NonNull CardViewHolder holder, int position) {
        CardItem item = itemList.get(position);
        holder.title.setText(item.getTitle());
        holder.description.setText(item.getDescription());
        holder.image.setImageResource(item.getImageRes());
    }

    @Override
    public int getItemCount() {
        return itemList.size();
    }

    public static class CardViewHolder extends RecyclerView.ViewHolder {
        TextView title, description;
        ImageView image;

        public CardViewHolder(@NonNull View itemView) {
            super(itemView);
            title = itemView.findViewById(R.id.title);
            description = itemView.findViewById(R.id.description);
            image = itemView.findViewById(R.id.image);
        }
    }
}
Step 5: Add RecyclerView to activity_main.xml
<androidx.recyclerview.widget.RecyclerView
    android:id="@+id/recyclerView"
    android:layout_width="match_parent"
    android:layout_height="match_parent"
    android:padding="8dp"
/>
Step 6: Set Up RecyclerView in MainActivity
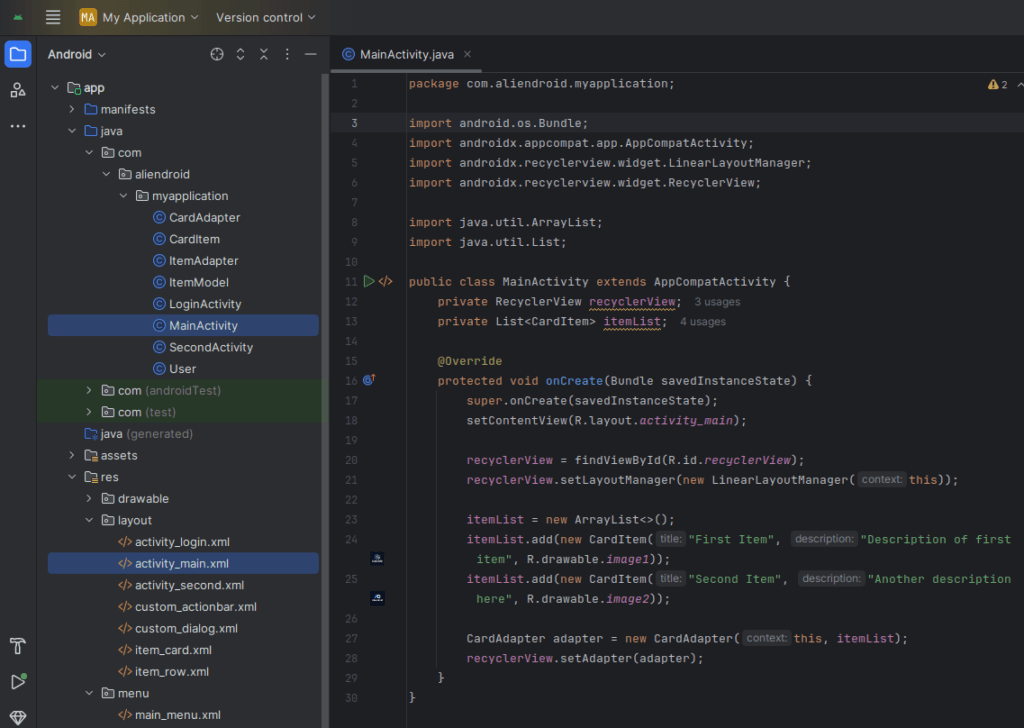
public class MainActivity extends AppCompatActivity {
private RecyclerView recyclerView;
private List<CardItem> itemList;
@Override
protected void onCreate(Bundle savedInstanceState) {
super.onCreate(savedInstanceState);
setContentView(R.layout.activity_main);
recyclerView = findViewById(R.id.recyclerView);
recyclerView.setLayoutManager(new LinearLayoutManager(this));
itemList = new ArrayList<>();
itemList.add(new CardItem("First Item", "Description of first item", R.drawable.image1));
itemList.add(new CardItem("Second Item", "Another description here", R.drawable.image2));
CardAdapter adapter = new CardAdapter(this, itemList);
recyclerView.setAdapter(adapter);
}
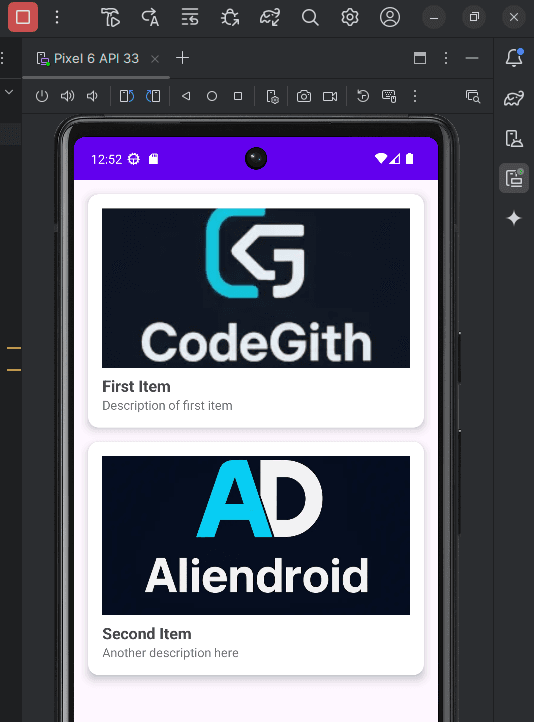
}Done!
Now you’ve created a stylish and dynamic CardView layout using Java in Android Studio — great for product lists, news items, or app content previews.