Custom fonts can help make your Android app stand out by giving it a unique style. In this guide, you’ll learn how to add and apply custom fonts in a Java-based Android app using Android Studio.
Step 1: Add Your Font File
- Prepare your font file (e.g.,
myfont.ttformyfont.otf). - Create a
fontsfolder inside theresdirectory:- Right-click
res→ New → Android Resource Directory. - Select “Resource type: font” and click OK.
- Copy your font into the newly created
res/fontfolder.
- Right-click
- Prepare your font file (e.g.,

Step 2: Apply Font in XML
If you’re using Android API 26 or higher:

    <TextView
        android:id="@+id/myTextView"
        android:layout_width="wrap_content"
        android:layout_height="wrap_content"
        android:fontFamily="@font/kingrimba"
        android:padding="24dp"
        android:text="Hello Custom Font"
        android:textSize="30sp" />
Replace
myfont(ex. kingrimba, https://www.dafont.com/king-rimba.font)with the actual name of your font file (without the extension).
Step 3: Apply Font in Java Code
If you want to apply the font programmatically.
Place the font file in the assets/fonts folder:
- Create the folders
assets→fonts(if not exist). - Put
myfont.ttf(ex Brunson, https://www.dafont.com/brunson.font) inassets/fonts.
- Create the folders
- Apply the font to your
TextView:
- Apply the font to your
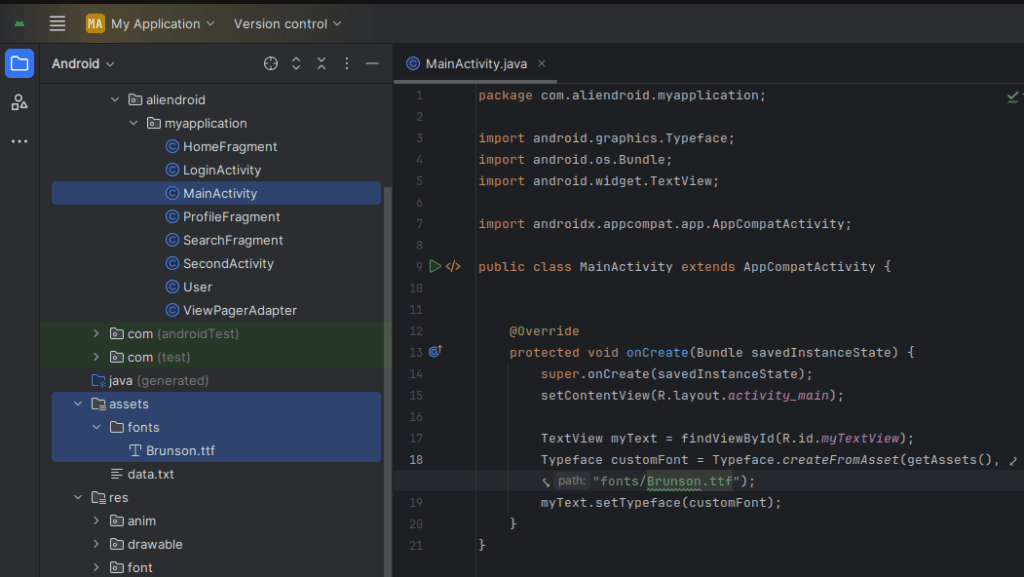
 TextView myText = findViewById(R.id.myTextView);
 Typeface customFont = Typeface.createFromAsset(getAssets(), "fonts/Brunson.ttf");
 myText.setTypeface(customFont);
Notes:
- Make sure the font file is spelled correctly.
- Use
.ttfor.otffonts for compatibility. - If targeting newer Android versions, prefer using
res/font.
Done!

You’ve now successfully used a custom font in your Android app. Custom fonts can improve your app’s branding and user experience when used properly.