In Android development, CheckBox and RadioButton are user interface elements that allow users to select options.
CheckBox: Used when you want to allow multiple selections from a list of options. Each checkbox operates independently.
RadioButton: Used when you want to allow only one selection from a group of options. They are typically placed inside a RadioGroup to enforce single selection.
Both components are part of the android.widget package and are commonly used in forms, settings, and preference screens to capture user choices.
Step 1: Add CheckBox and RadioButton in activity_main.xml

<LinearLayout xmlns:android="http://schemas.android.com/apk/res/android"
android:layout_width="match_parent"
android:layout_height="match_parent"
android:orientation="vertical"
android:padding="24dp">
<!-- CheckBoxes -->
<CheckBox
android:id="@+id/checkbox1"
android:layout_width="wrap_content"
android:layout_height="wrap_content"
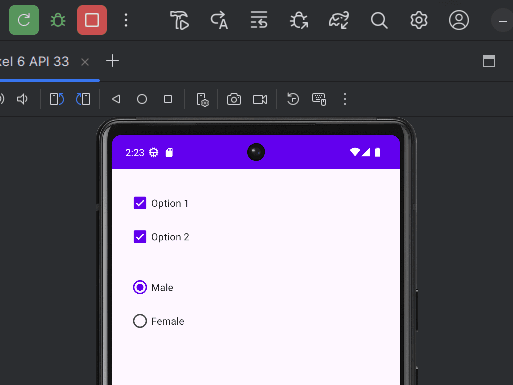
android:text="Option 1" />
<CheckBox
android:id="@+id/checkbox2"
android:layout_width="wrap_content"
android:layout_height="wrap_content"
android:text="Option 2" />
<!-- RadioGroup and RadioButtons -->
<RadioGroup
android:id="@+id/radioGroup"
android:layout_width="wrap_content"
android:layout_height="wrap_content"
android:orientation="vertical"
android:layout_marginTop="24dp">
<RadioButton
android:id="@+id/radioMale"
android:layout_width="wrap_content"
android:layout_height="wrap_content"
android:text="Male" />
<RadioButton
android:id="@+id/radioFemale"
android:layout_width="wrap_content"
android:layout_height="wrap_content"
android:text="Female" />
</RadioGroup>
</LinearLayout>Step 2: Handle Logic in MainActivity.java
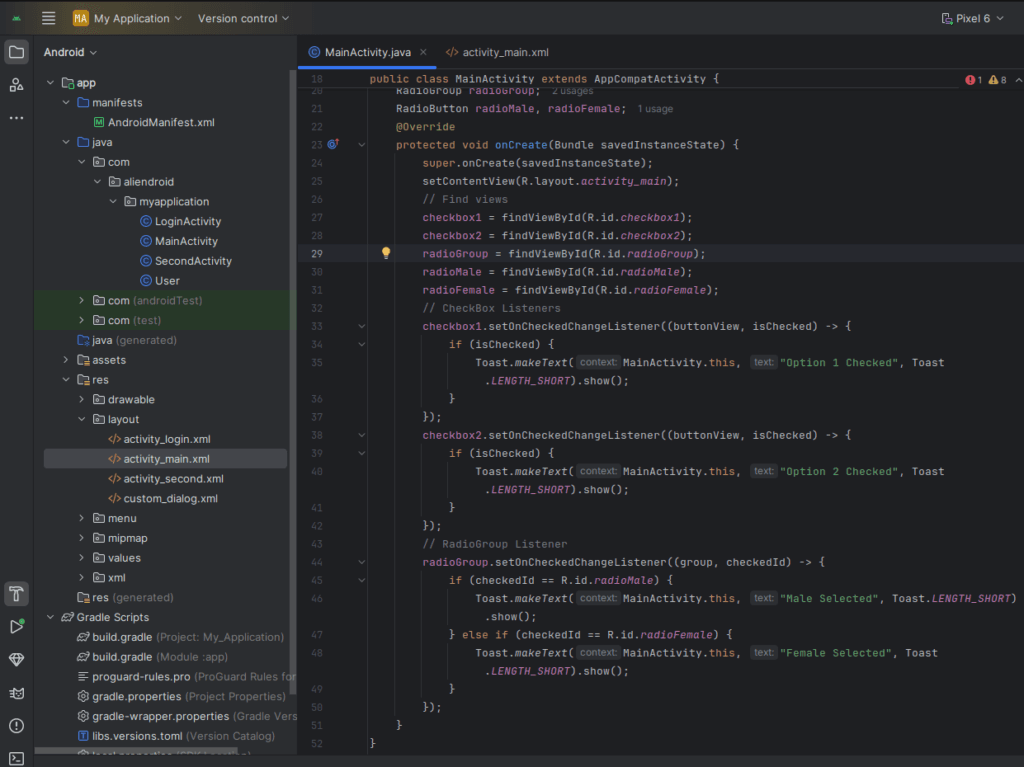
package com.example.checkboxradiobuttonapp;

import android.os.Bundle;
import android.widget.CheckBox;
import android.widget.CompoundButton;
import android.widget.RadioButton;
import android.widget.RadioGroup;
import android.widget.Toast;

import androidx.appcompat.app.AppCompatActivity;

public class MainActivity extends AppCompatActivity {

    CheckBox checkbox1, checkbox2;
    RadioGroup radioGroup;
    RadioButton radioMale, radioFemale;

    @Override
    protected void onCreate(Bundle savedInstanceState) {
        super.onCreate(savedInstanceState);
        setContentView(R.layout.activity_main);

        // Find views
        checkbox1 = findViewById(R.id.checkbox1);
        checkbox2 = findViewById(R.id.checkbox2);
        radioGroup = findViewById(R.id.radioGroup);
        radioMale = findViewById(R.id.radioMale);
        radioFemale = findViewById(R.id.radioFemale);

        // CheckBox Listeners
        checkbox1.setOnCheckedChangeListener((buttonView, isChecked) -> {
            if (isChecked) {
                Toast.makeText(MainActivity.this, "Option 1 Checked", Toast.LENGTH_SHORT).show();
            }
        });

        checkbox2.setOnCheckedChangeListener((buttonView, isChecked) -> {
            if (isChecked) {
                Toast.makeText(MainActivity.this, "Option 2 Checked", Toast.LENGTH_SHORT).show();
            }
        });

        // RadioGroup Listener
        radioGroup.setOnCheckedChangeListener((group, checkedId) -> {
            if (checkedId == R.id.radioMale) {
                Toast.makeText(MainActivity.this, "Male Selected", Toast.LENGTH_SHORT).show();
            } else if (checkedId == R.id.radioFemale) {
                Toast.makeText(MainActivity.this, "Female Selected", Toast.LENGTH_SHORT).show();
            }
        });
    }
}
Tips:
- Use
CheckBoxwhen multiple selections are allowed. - Use
RadioGroupwithRadioButtonsfor exclusive (single) selection. - Always use listeners to handle user input logic dynamically.
- Use