Designing a clean and responsive user interface in Android Studio requires a solid understanding of margins, padding, and sizing. These three layout fundamentals help control the space inside and outside UI components.
1. Understanding Margins
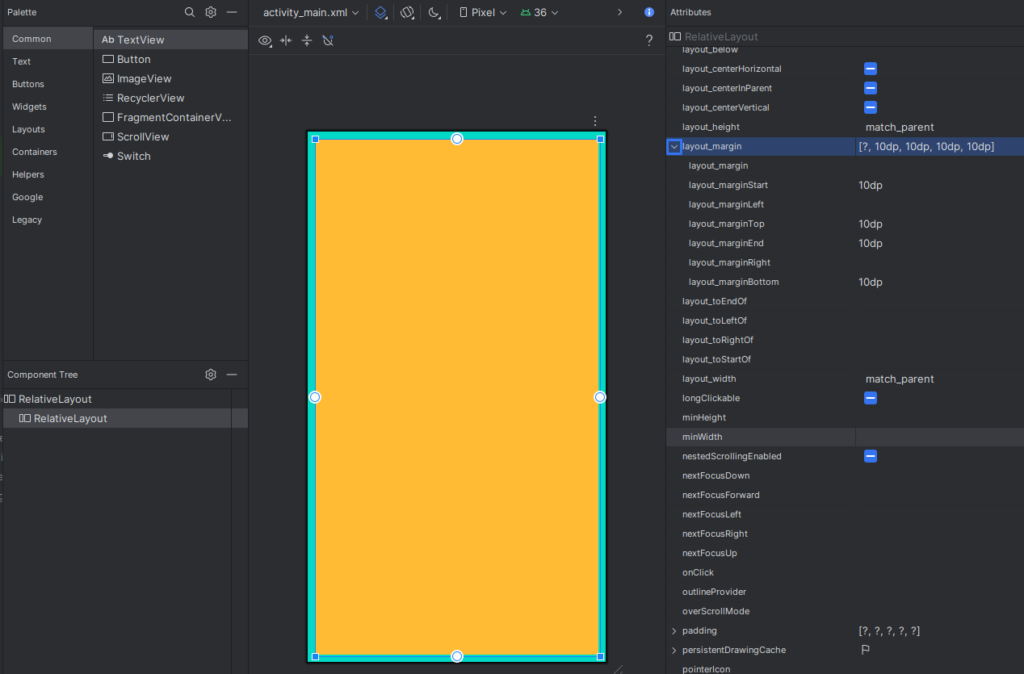
Margins define the space outside of a view. They are used to separate a view from its surrounding elements.
How to Set Margins:
<?xml version="1.0" encoding="utf-8"?>
<RelativeLayout xmlns:android="http://schemas.android.com/apk/res/android"
    android:layout_width="match_parent"
    android:layout_height="match_parent"
    android:background="@color/design_default_color_secondary"
    android:orientation="vertical"
   >

    <RelativeLayout
        android:layout_width="match_parent"
        android:layout_height="match_parent"
        android:layout_marginStart="10dp"
        android:layout_marginTop="10dp"
        android:layout_marginEnd="10dp"
        android:layout_marginBottom="10dp"
        android:background="@android:color/holo_orange_light">

    </RelativeLayout>
</RelativeLayout>
Use dp (density-independent pixels) for consistency across devices.
2. Understanding Padding
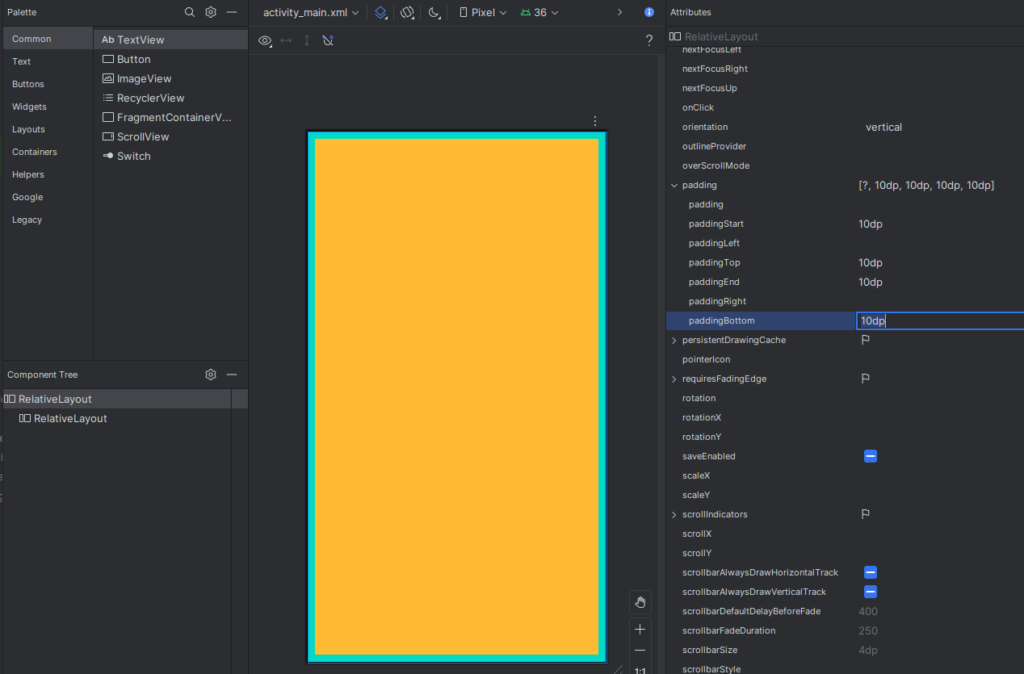
Padding adds space inside the view, between its border and the content (like text or an image).
How to Set Padding:
<?xml version="1.0" encoding="utf-8"?>
<RelativeLayout xmlns:android="http://schemas.android.com/apk/res/android"
    android:layout_width="match_parent"
    android:layout_height="match_parent"
    android:background="@color/design_default_color_secondary"
    android:orientation="vertical"
    android:paddingStart="10dp"
    android:paddingTop="10dp"
    android:paddingEnd="10dp"
    android:paddingBottom="10dp">

    <RelativeLayout
        android:layout_width="match_parent"
        android:layout_height="match_parent"
        android:background="@android:color/holo_orange_light">

    </RelativeLayout>
</RelativeLayout>
Padding ensures the content doesn’t stick to the edges of the view.
Controlling View Sizing
You can control how much space a view takes using layout_width and layout_height.
Sizing Options:
wrap_content: The view size wraps around its content.match_parent: The view expands to match the parent container.- Specific value (e.g.
100dp): Fixed dimension.
Example:
android:layout_width="match_parent"
android:layout_height="wrap_content"
4. Using ConstraintLayout for Precision
With ConstraintLayout, you gain full control over spacing and alignment.
Setting Margins in ConstraintLayout:
app:layout_constraintTop_toTopOf="parent"
android:layout_marginTop="16dp"
Guideline for Consistency:
Use guidelines in ConstraintLayout to align elements proportionally across different screen sizes.
5. Best Practices
- Use
dpfor layout dimensions. - Avoid hard-coded pixel values.
- Test your layout on different screen sizes using the Android Studio preview.
- Use
tools:namespace for design-time attributes (e.g.,tools:layout_editor_absoluteX).
- Use
Conclusion
Understanding and managing margins, padding, and sizing in Android Studio is essential for creating visually appealing and responsive Android applications. By applying these layout techniques effectively, you’ll ensure your app looks great on any screen size.