In Android development, ImageView is a commonly used widget to display images. This tutorial will show you how to use ImageView in Java with Android Studio, including how to display images from the drawable folder, and how to load images from a URL using a library like Glide.
Step 1: Add ImageView to Layout XML
Open your activity_main.xml and add the following:
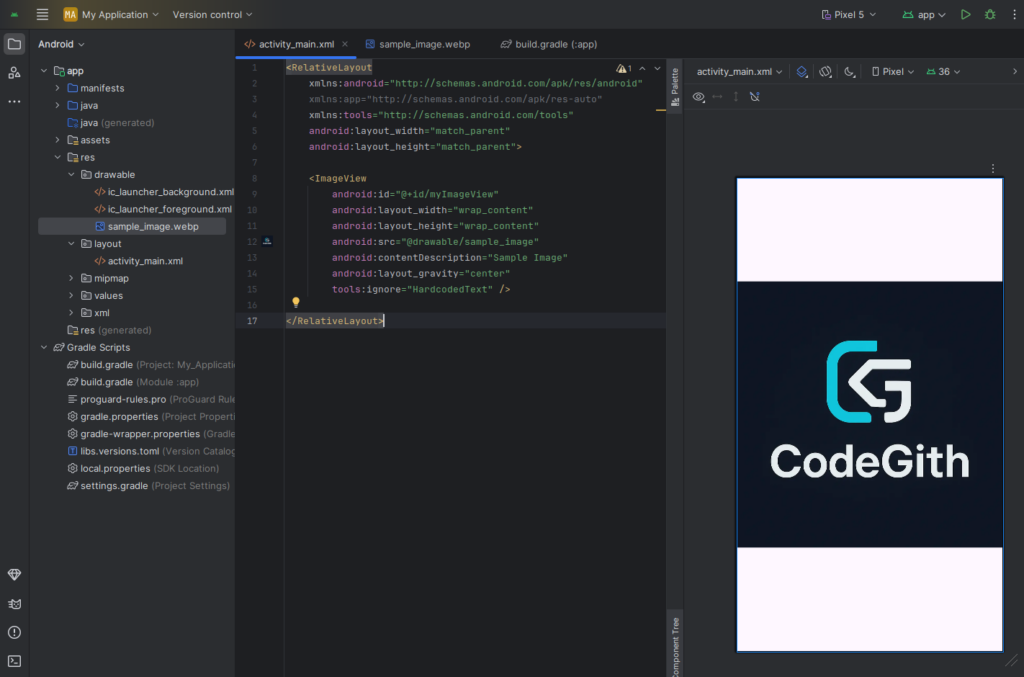
<ImageView
    android:id="@+id/myImageView"
    android:layout_width="wrap_content"
    android:layout_height="wrap_content"
    android:src="@drawable/sample_image"
    android:contentDescription="Sample Image"
    android:layout_gravity="center"
/>
Make sure you have an image named sample_image.jpg or sample_image.png inside the res/drawable/ folder.
Step 2: Reference ImageView in Java Code
Open your MainActivity.java and use the following code:
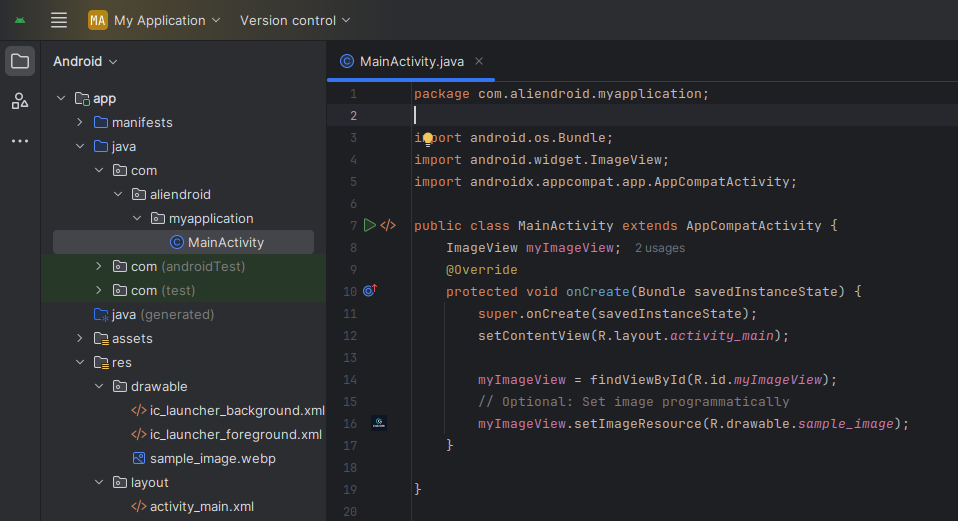
import android.os.Bundle;
import android.widget.ImageView;
import androidx.appcompat.app.AppCompatActivity;

public class MainActivity extends AppCompatActivity {

    ImageView myImageView;

    @Override
    protected void onCreate(Bundle savedInstanceState) {
        super.onCreate(savedInstanceState);
        setContentView(R.layout.activity_main);

        myImageView = findViewById(R.id.myImageView);

        // Optional: Set image programmatically
        myImageView.setImageResource(R.drawable.sample_image);
    }
}
Load Image from URL (Using Glide Library)
To load images from a URL, add Glide dependency in your build.gradle:
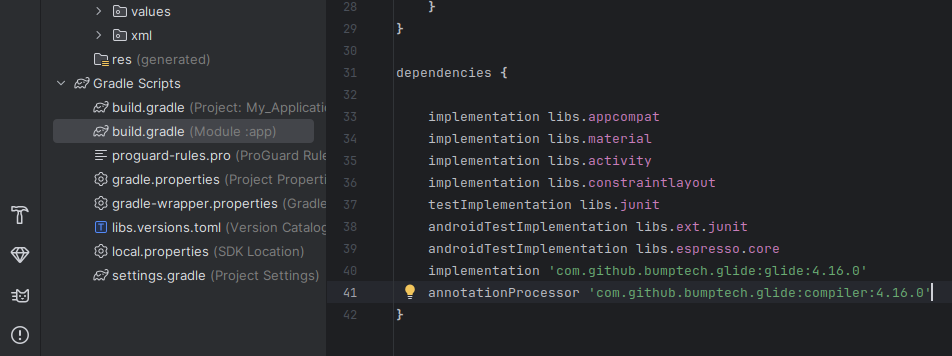
implementation 'com.github.bumptech.glide:glide:4.16.0'
annotationProcessor 'com.github.bumptech.glide:compiler:4.16.0'
Then load the image like this:
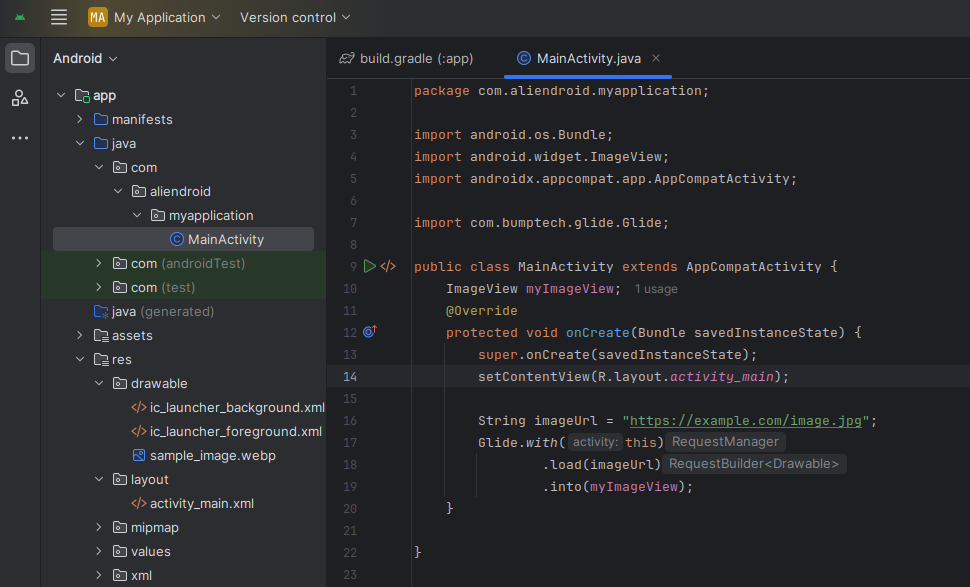
import com.bumptech.glide.Glide;

// Inside onCreate()
String imageUrl = "https://example.com/image.jpg";
Glide.with(this)
     .load(imageUrl)
     .into(myImageView);
Final Tips:
- Always use
contentDescriptionfor accessibility. - Use
wrap_contentormatch_parentwisely to control image size. - Use Glide or Picasso to load large images efficiently.
- Always use