When designing modern Android applications, a clean and responsive user interface is essential. ConstraintLayout is a powerful layout manager in Android that allows you to build complex and flexible layouts with flat view hierarchies. This guide walks you through how to effectively use ConstraintLayout in Android Studio to build UI that looks great on all screen sizes.
Why Use ConstraintLayout?
- Flat Hierarchy: Reduces nesting, improving performance.
- Responsive Design: Ideal for multiple screen sizes and orientations.
- Powerful Tools: Supports constraints, chains, barriers, guidelines, groups, and more.
Setting Up ConstraintLayout
- Add the Dependency
Make sure your project includes ConstraintLayout inbuild.gradle:
- Add the Dependency
dependencies {
    implementation 'androidx.constraintlayout:constraintlayout:2.1.4'
}
2. Use in XML Layout File
<androidx.constraintlayout.widget.ConstraintLayout
xmlns:android="http://schemas.android.com/apk/res/android"
xmlns:app="http://schemas.android.com/apk/res-auto"
android:layout_width="match_parent"
android:layout_height="match_parent">
<!-- Add UI elements here -->
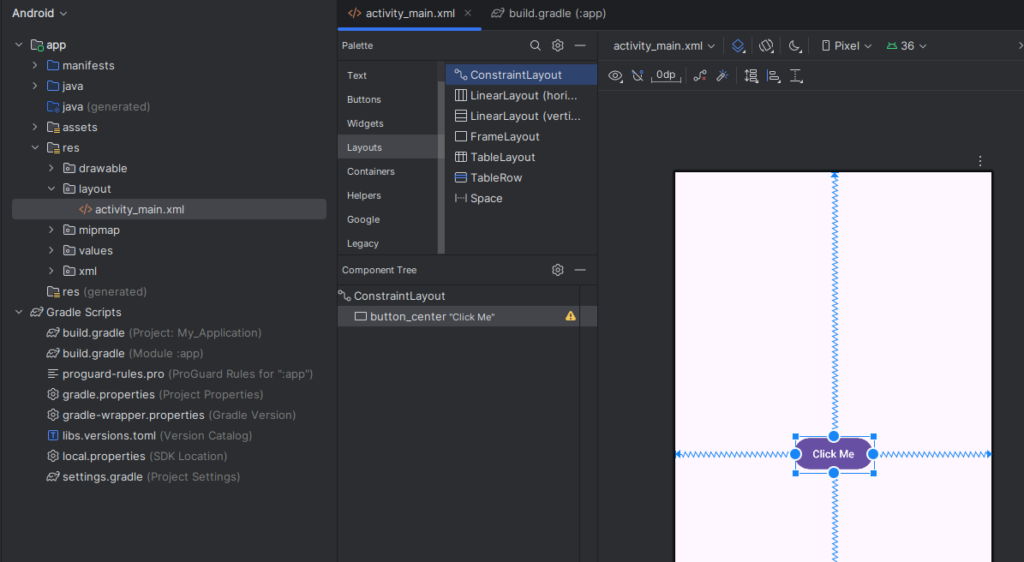
</androidx.constraintlayout.widget.ConstraintLayout>3. Basic Example: Centering a Button
<androidx.constraintlayout.widget.ConstraintLayout
    xmlns:android="http://schemas.android.com/apk/res/android"
    xmlns:app="http://schemas.android.com/apk/res-auto"
    android:layout_width="match_parent"
    android:layout_height="match_parent">

    <!-- Add UI elements here -->
    <Button
        android:id="@+id/button_center"
        android:layout_width="wrap_content"
        android:layout_height="wrap_content"
        android:text="Click Me"
        app:layout_constraintTop_toTopOf="parent"
        app:layout_constraintBottom_toBottomOf="parent"
        app:layout_constraintStart_toStartOf="parent"
        app:layout_constraintEnd_toEndOf="parent"/>

</androidx.constraintlayout.widget.ConstraintLayout>
This will center the button both vertically and horizontally.
Advanced Features
Chains
Chains let you control spacing and alignment between multiple views.
app:layout_constraintHorizontal_chainStyle="spread_inside"
Guidelines
Guidelines help position views relative to a fixed percentage of the layout.
<androidx.constraintlayout.widget.Guideline
    android:layout_width="wrap_content"
    android:layout_height="wrap_content"
    android:orientation="vertical"
    app:layout_constraintGuide_percent="0.5"/>
Barriers
Barriers adapt based on the size of multiple views.
<androidx.constraintlayout.widget.Barrier
    android:id="@+id/barrier"
    app:barrierDirection="end"
    app:constraint_referenced_ids="view1,view2"/>
Tips and Best Practices
- Use ConstraintLayout as the root layout when possible.
- Avoid deep nesting—keep it flat.
- Use Layout Editor for visual adjustments and quick prototyping.
- Test on multiple screen sizes using Preview in Android Studio.
Conclusion
ConstraintLayout is a versatile and efficient way to build user interfaces in Android. Whether you’re a beginner or a seasoned developer, mastering ConstraintLayout will help you create adaptive and beautiful layouts that scale across all devices.