An Android Emulator in Android Studio is a virtual device that mimics the hardware and operating system of an actual Android smartphone or tablet. It allows developers to test and run Android applications without needing a physical device.
The emulator behaves almost like a real device it can simulate phone calls, text messages, network conditions, sensors, battery levels, and more.
System Requirements for Using the Android Emulator
To use the Android Emulator smoothly, your development machine must meet the following requirements:
Hardware Requirements:
- At least 8 GB RAM (16 GB recommended)
- Intel or AMD processor with support for virtualization (Intel VT-x / AMD-V)
- 64-bit operating system
- Minimum 10 GB of free disk space
Software Requirements:
- Android Studio installed
- Latest version of Android SDK
- Intel HAXM (Hardware Accelerated Execution Manager) or Android Emulator Hypervisor Driver
- Compatible AVD system image (e.g., API 30, API 33)
Follow these steps to set up a virtual device (Android Emulator) in Android Studio Meerkat:
Step 1: Open AVD Manager
- Click on “More Actions” > AVD Manager from the Welcome screen.

OR
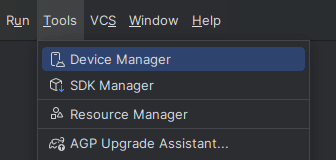
If you’re inside a project, go to the top menu and click:
Tools > Device Manager (or AVD Manager in older versions).

Step 2: Create a New Virtual Device
- Click on the “+ Add n new device -> Create Virtual Device” button.
- Choose a device from the list (e.g., Pixel 5, Nexus 5X).
- Click Next.


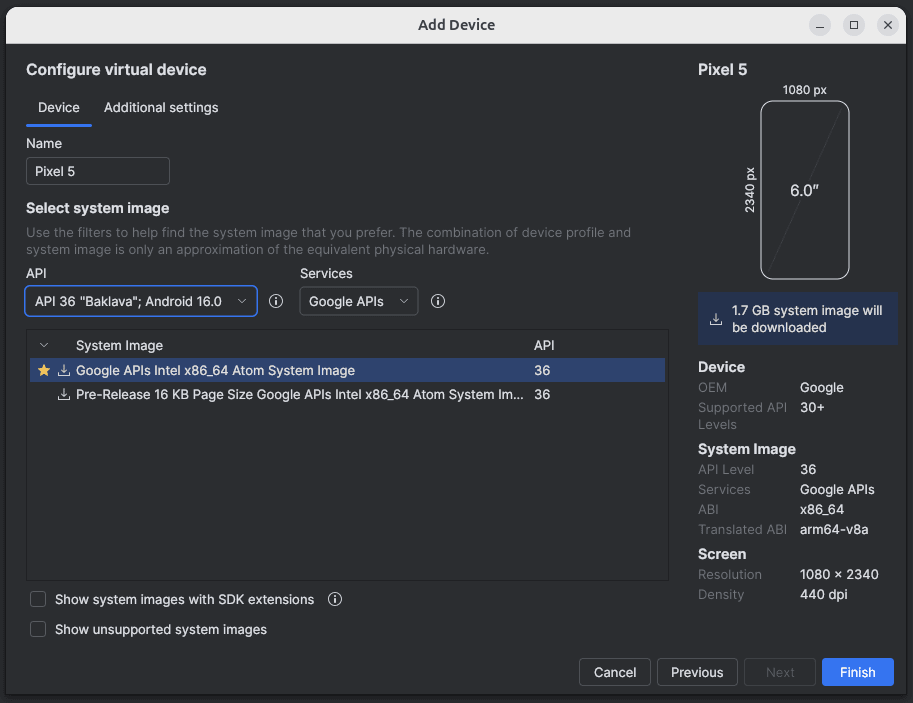
Step 3: Select System Image
- Give your emulator a name (optional).
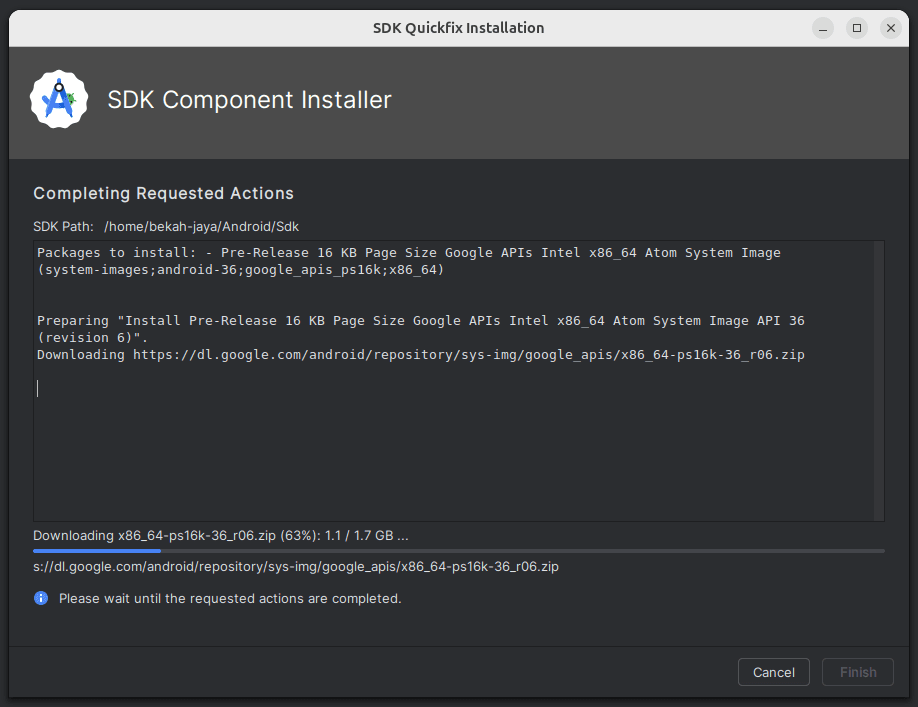
- Choose a system image (like Android 16.0, API 36).
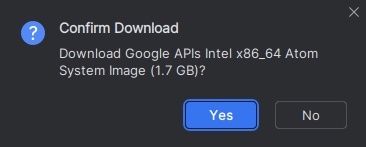
- If it’s not downloaded, click Download next to the version.
- After download completes, click Finish.
Step 4: Configure Emulator Settings (Optional)
- Customize settings (RAM, resolution, orientation) if needed.
- Click Finish.

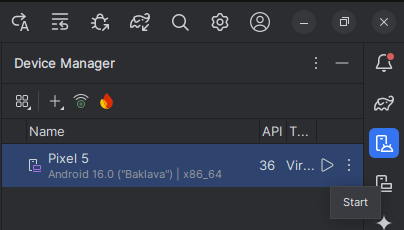
Step 5: Launch the Emulator
- In the Device Manager or AVD Manager, find your newly created emulator.
- Click the Play Button (▶) to start the emulator.
Step 6: Use the Emulator
- Once it boots up, you can use it like a real Android phone.
- You can run your apps on it directly from Android Studio by choosing the emulator as the deployment target.