If you’re just starting Android development, here’s a complete guide to help you create your first project in Android Studio.
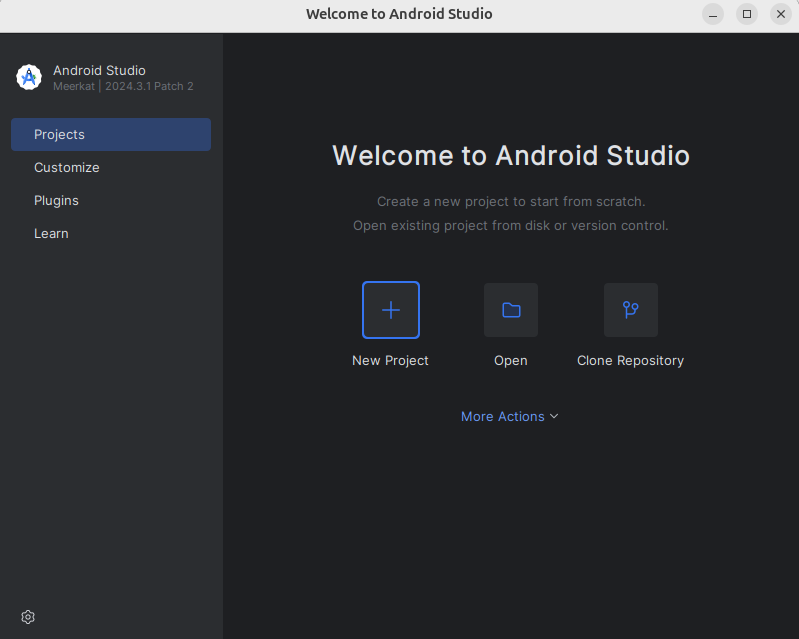
1. Open Android Studio
Launch Android Studio and click on “New Project”
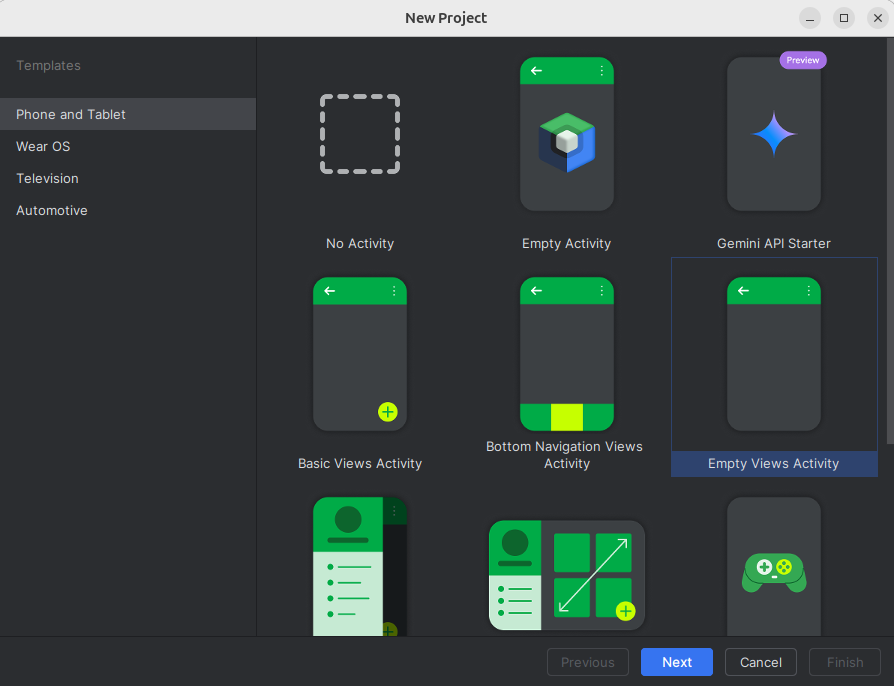
2. Choose Project Template
Select a template like “Empty Activity” to start from scratch.
3. Configure Your Project
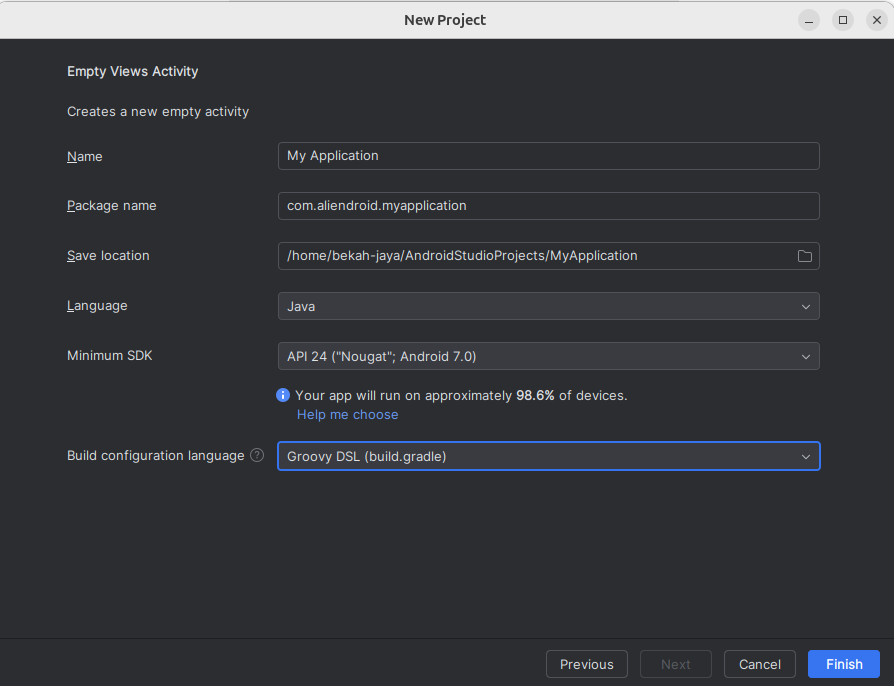
- Name: Enter your app name.
- Package name: Unique identifier for your app (e.g.,
com.example.myapp). - Save location: Choose a folder to save the project.
- Language: Java or Kotlin.
- Minimum SDK: Choose the minimum Android version your app will support.
Click Finish, and Android Studio will generate your project structure.
Project Structure Explanation
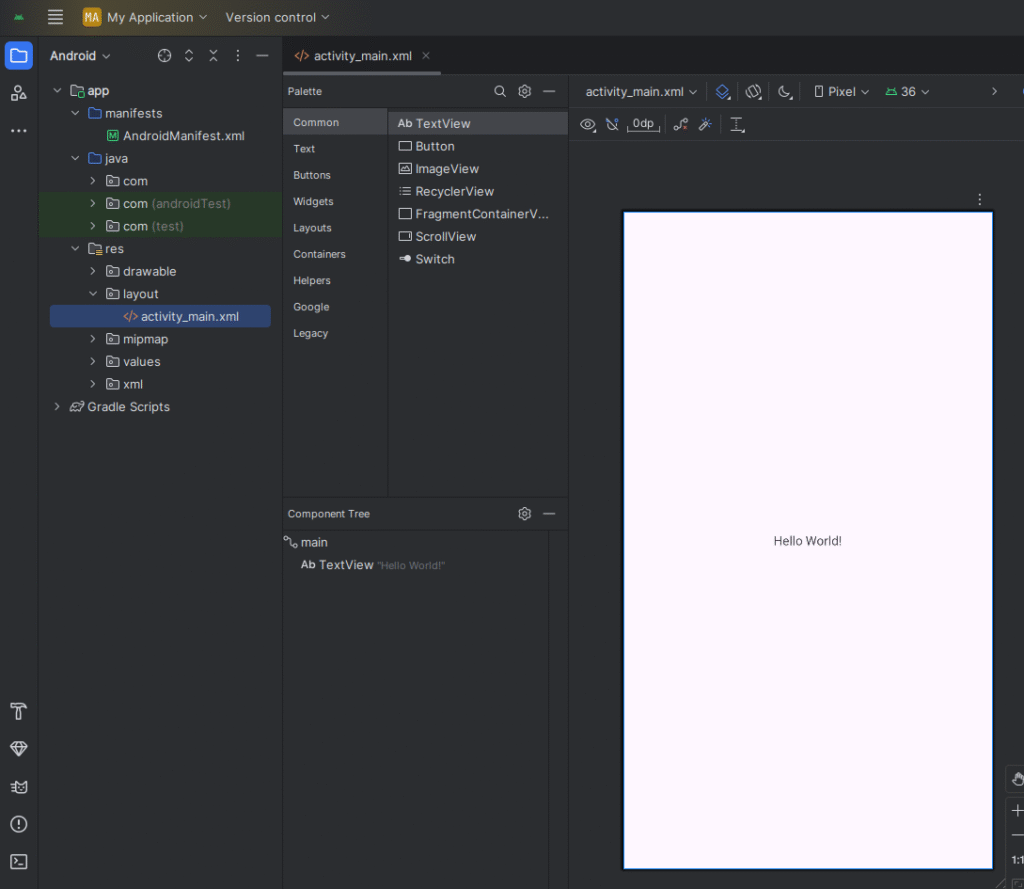
🔹 /layout Folder
Located in: res/layout
Contains XML files that define the user interface (UI) of your app (e.g., activity_main.xml). Each screen layout is placed here.
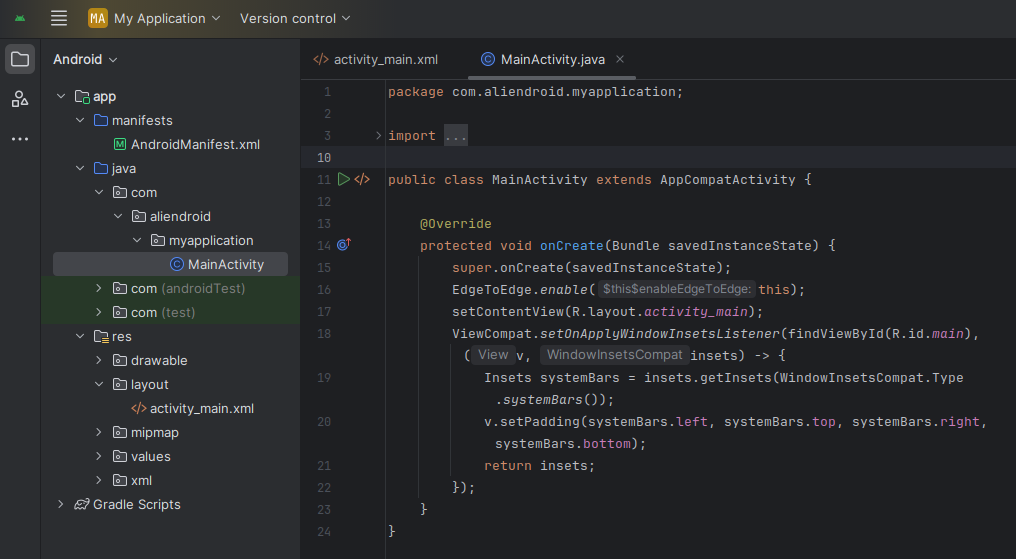
🔹 /java Folder
Located in: src/main/java
Houses your app’s Java or Kotlin code, including activities, classes, and logic files.
Example: MainActivity.java – This is where the code for the app’s main screen resides.
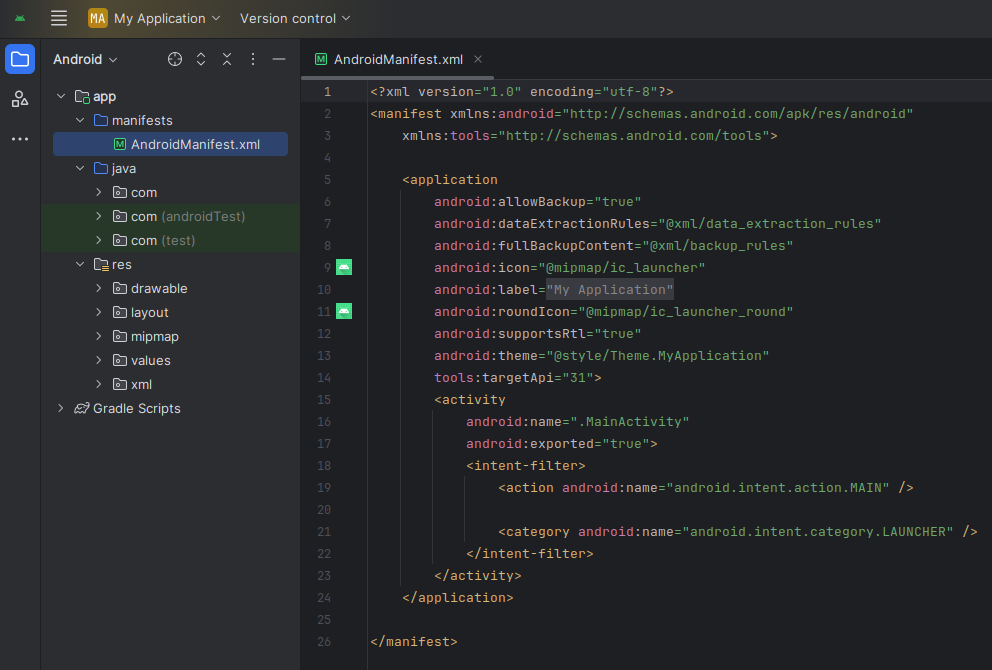
🔹 AndroidManifest.xml
Located in: src/main/AndroidManifest.xml
A crucial configuration file that declares app components (activities, services, permissions, etc.). Every Android app must have it.