1. Open the Project in Android Studio
Launch Android Studio and open your Android project to explore its default structure.
2. Explore the ‘Project’ Panel
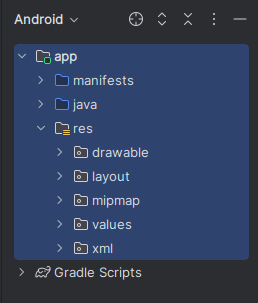
On the left side of Android Studio, locate the ‘Project’ panel. Switch the view to “Android” for a simplified and organized structure view.
3. Understand the Main Directories
app/: The core module containing your application’s source code, resources, and configuration files.
Gradle Scripts/: Includes project-level and app-levelbuild.gradlefiles that manage dependencies and build settings.
4. Dive into the app/src/ Folder
main/: The main source set that includes:java/: Contains Java/Kotlin source code for activities, fragments, and other classes.res/: Stores resources like layouts (layout/), images (drawable/), and strings (values/).AndroidManifest.xml: Defines essential app information like package name, activities, permissions, and services.

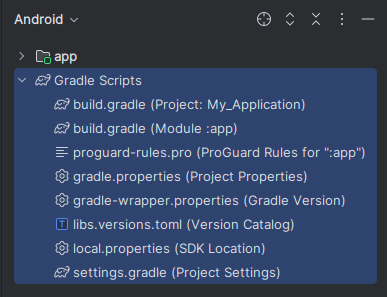
5. Review the Gradle Build Files
build.gradle (Project Level): Manages build configurations for all modules and includes repository information.build.gradle (App Level): Specifies app-specific configurations, SDK versions, dependencies, and plugins.
6. Check the libs/ and assets/ (if available)
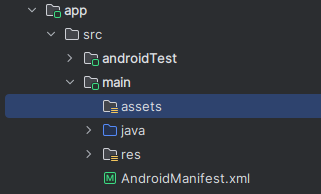
libs/: Used for adding external JAR or AAR libraries.assets/: Used to store raw files like HTML, JSON, or fonts that you want to access directly in your app.
7. Explore the test/ and androidTest/ Folders
test/: Contains unit test code.androidTest/: Contains instrumentation test code for UI testing on Android devices.
8. Familiarize Yourself with Resource Naming Conventions
Android enforces naming conventions for resources like snake_case for filenames. Following these improves maintainability.
9. Understand Module Separation (if present)
Some projects have multiple modules (e.g., :app, :library) that serve different purposes like separating UI and backend logic.