Build Custom PC Step-by-Step Guide A Comprehensive Approach
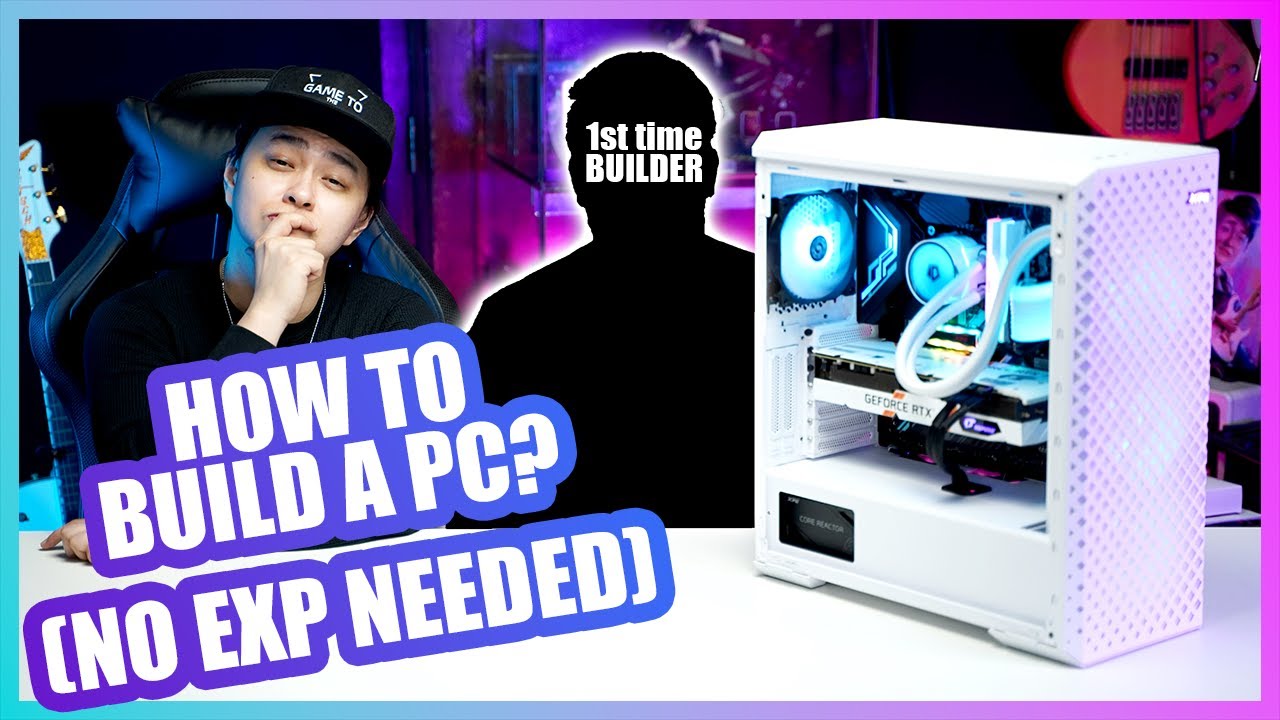
Introduction to Building a Custom PC
Building a custom PC offers significant advantages over pre-built systems. You gain unparalleled control over performance, aesthetics, and budget allocation. This allows for precise tailoring to specific needs and preferences, whether it’s gaming, content creation, or general use. You’re not constrained by a manufacturer’s pre-determined specifications, and can often achieve better value for your money.
The core concept revolves around selecting and assembling individual components to create a personalized computer system. This involves careful consideration of each component’s capabilities, compatibility, and budget constraints. This process demands understanding of the various parts and their interactions, allowing for optimized performance.
Essential Components for a Basic Custom PC Setup
A basic custom PC needs several key components. These components work together to form a functional computer system. Understanding their roles and importance is crucial for a successful build.
- CPU (Central Processing Unit): The “brain” of the computer, responsible for processing instructions. Different CPUs have varying performance capabilities, influencing overall system speed.
- GPU (Graphics Processing Unit): Crucial for displaying visuals, especially for gaming and graphic design. A high-performance GPU is essential for demanding applications.
- Motherboard: The central circuit board that connects all other components. The motherboard dictates compatibility between various parts.
- RAM (Random Access Memory): Stores data currently being used by the computer. Higher RAM capacity improves multitasking abilities and overall system responsiveness.
- Storage (SSD or HDD): Used for storing operating systems, applications, and user data. Solid-State Drives (SSDs) offer faster access times compared to Hard Disk Drives (HDDs).
- Power Supply Unit (PSU): Provides the electrical power to all components. A high-quality PSU ensures stable and sufficient power delivery to avoid component damage.
Initial Planning Phase: Choosing Form Factor and Budget
Careful planning is essential for a successful custom PC build. This includes deciding on the form factor and setting a budget. A well-defined plan ensures the chosen components meet the user’s needs and budget.
- Form Factor Selection: The form factor determines the size and shape of the computer case, impacting component compatibility and overall design aesthetics. Choosing the right form factor is essential for proper component integration.
- Budget Allocation: Establishing a budget is crucial for a well-controlled build. It prevents overspending and ensures the components align with the allocated funds.
Form Factor Comparison
The choice of form factor impacts both the size and the potential components. Consider the following comparison table.
| Form Factor | Size | Component Compatibility | Cooling Potential | Typical Use Cases |
|---|---|---|---|---|
| Mini-ITX | Smallest | Limited component choices | Excellent due to compact size | Small form factor desktops, HTPC (Home Theater PC) |
| Micro-ATX | Mid-sized | More component choices than Mini-ITX | Good cooling potential | General use desktops, gaming rigs |
| ATX | Largest | Extensive component choices | Excellent cooling potential due to space | High-end gaming PCs, workstation PCs |
Choosing Components

Source: media-amazon.com
Building a custom PC involves carefully selecting each component to meet your specific needs and budget. Understanding the characteristics and capabilities of different components is crucial for building a system that performs optimally. This section details the key components and their selection criteria, emphasizing compatibility and performance considerations.
Choosing the right components is vital for achieving a well-performing and long-lasting PC. Compatibility between parts is paramount, as is considering the intended usage of the system (gaming, content creation, or general use). This process requires understanding the intricate relationship between different components.
CPU Architectures and Performance
Central Processing Units (CPUs) are the brains of the computer. Different CPU architectures, like x86-64, influence performance significantly. Modern CPUs employ various core counts and clock speeds to achieve higher processing power. The number of cores and threads directly impacts multitasking capabilities and overall responsiveness. For example, a high-core CPU is beneficial for demanding tasks like video editing, while a lower-core CPU might suffice for general use. The clock speed, measured in GHz, determines how quickly the CPU can execute instructions. Higher clock speeds generally translate to faster processing, but this is not always the sole determinant of performance.
Motherboard Features and Compatibility
Motherboards serve as the central hub, connecting all PC components. Features like chipset, expansion slots, and onboard controllers are vital for compatibility. Different chipsets offer varying performance levels and support for specific components. For instance, a motherboard with integrated graphics might suffice for basic tasks, but a dedicated graphics card is needed for demanding graphical applications. The number of expansion slots dictates the ability to add more components, like extra storage or sound cards. Furthermore, motherboard compatibility with specific CPUs is critical.
RAM Types and Specifications, Build custom pc step by step guide
Random Access Memory (RAM) is essential for temporary data storage during operation. Different RAM types (DDR4, DDR5) offer varying speeds and capacities. Faster RAM allows programs to load and operate more quickly. Higher capacities enable handling more demanding tasks simultaneously. For example, a professional photographer might require more RAM to manage large image files compared to a casual user. The speed of RAM, measured in MHz, directly impacts application responsiveness.
GPU Architectures and Graphical Capabilities
Graphics Processing Units (GPUs) are specialized processors for handling graphical tasks. Different GPU architectures, such as NVIDIA’s and AMD’s, provide varying graphical capabilities. Key performance indicators include core count, clock speed, and memory capacity. These factors influence the quality of visuals and the smoothness of gameplay or rendering. For instance, gamers demand high frame rates and visual fidelity, which requires a powerful GPU.
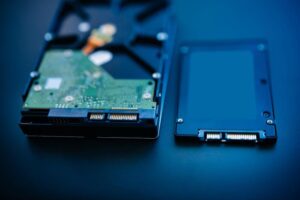
Storage Options (SSD, HDD, NVMe)
Storage devices, like Solid State Drives (SSDs), Hard Disk Drives (HDDs), and NVMe drives, offer various capacities and speeds. SSDs offer significantly faster read/write speeds compared to HDDs, making them ideal for operating systems and frequently accessed applications. HDDs provide high storage capacity at a lower cost, suitable for storing large files like videos or photos. NVMe drives offer exceptional speed and performance, suitable for demanding applications like high-end gaming. The choice depends on the balance between speed, capacity, and cost.
Power Supply Unit (PSU) Comparison
Power Supply Units (PSUs) provide the necessary power to all components. A PSU’s wattage and efficiency rating are critical considerations. Higher wattage PSUs can handle more powerful components, while higher efficiency ratings translate to lower energy consumption. A table below provides a comparison of different PSU models.
| PSU Model | Wattage (W) | Efficiency Rating (%) | Price (USD) |
|---|---|---|---|
| Example PSU 1 | 650 | 80+ Gold | $80 |
| Example PSU 2 | 750 | 80+ Platinum | $110 |
| Example PSU 3 | 850 | 80+ Titanium | $150 |
Component Selection Based on Intended Usage
Choosing components depends heavily on the intended use of the PC. Gaming PCs require high-performance GPUs and processors, while content creation PCs need powerful CPUs and GPUs. For general use, a balance between performance and cost is ideal. For instance, a content creator might prioritize a powerful CPU and GPU to handle demanding video editing tasks, whereas a casual user might prioritize a more cost-effective setup for general browsing and office work.
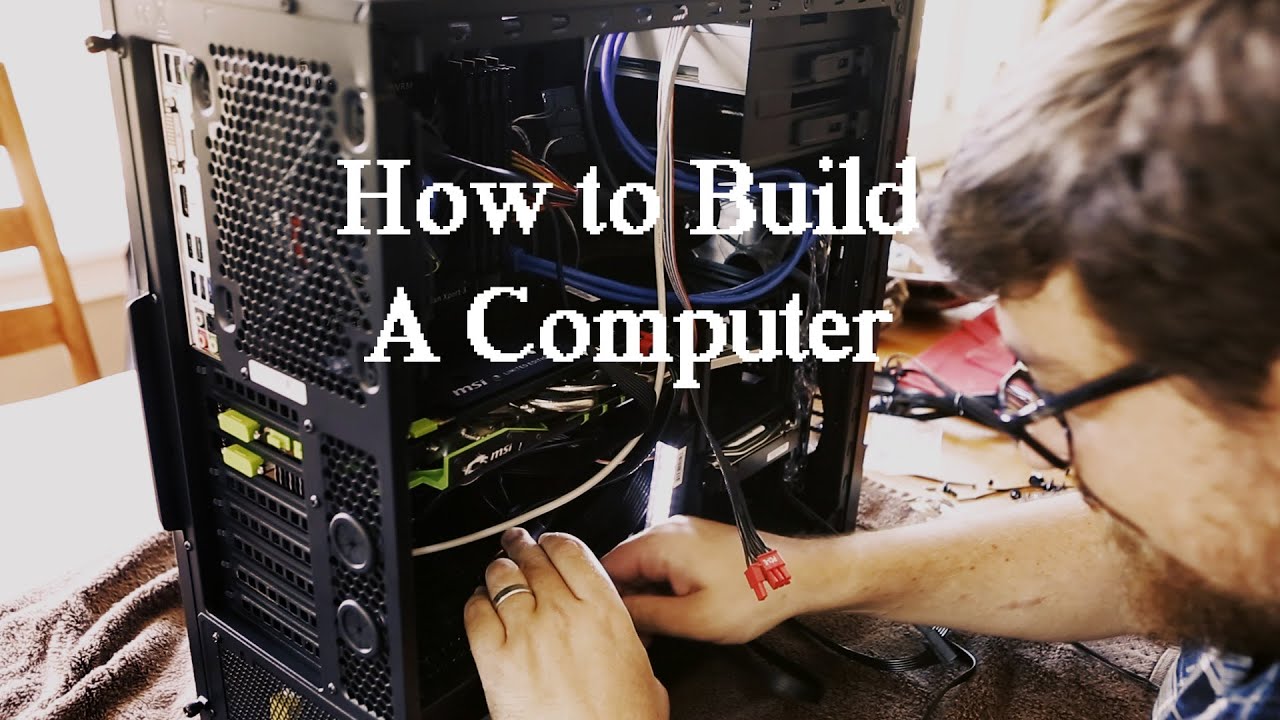
Assembling the PC
Now that you’ve meticulously chosen your components, it’s time to bring them together. This section provides a step-by-step guide for assembling your custom PC, ensuring a smooth and successful build. Careful attention to detail is paramount during this phase, as a single misplaced component can lead to significant problems. Follow these instructions carefully to maximize your PC’s performance and longevity.
Installing the CPU
The CPU, or central processing unit, is the brain of your computer. Installing it correctly is crucial for proper functionality. Carefully align the CPU with the corresponding socket on the motherboard. Ensure the arrow or notch on the CPU aligns with the corresponding mark on the motherboard socket. Press down gently until the CPU is fully seated. Never force the CPU into the socket. Incorrect installation can damage both the CPU and the motherboard.
Installing the Motherboard
Carefully place the motherboard into the PC case. Align the mounting holes on the motherboard with the corresponding holes on the case. Secure the motherboard to the case using the provided screws. Be sure to tighten the screws evenly to prevent any stress on the motherboard. Over-tightening can damage the motherboard. Check the motherboard manual for specific mounting instructions, as variations may exist based on the motherboard model.
Installing RAM
RAM, or random access memory, is essential for your PC’s short-term memory. RAM slots are typically located near the CPU socket on the motherboard. Align the RAM modules with the slots, ensuring proper orientation. Press down gently on both sides of the RAM until it clicks into place. Incorrect installation can lead to instability or boot-up issues. Ensure that the RAM is seated firmly in the slots.
Installing the GPU
The graphics processing unit (GPU) is responsible for rendering visuals. Carefully align the GPU with the PCI Express (PCIe) slot on the motherboard. Slide the GPU into the slot until it is fully seated. Secure the GPU using the provided screw. Proper installation is essential to prevent damage to the GPU or motherboard.
Installing Storage Devices
Storage devices, such as SSDs and HDDs, are used to store data. These devices typically use SATA or NVMe interfaces. Align the storage device with the corresponding SATA or NVMe slot on the motherboard. Secure the storage device to the case using the provided screws. Over-tightening can damage the storage device. Different storage devices may have different mounting requirements. Consult your storage device’s documentation for specific details.
Connecting the Power Supply Unit (PSU) and Cables
The PSU provides power to all components. Carefully place the PSU inside the case. Connect the PSU cables to the appropriate components. The power cables should be connected to the motherboard, CPU, GPU, and storage devices. Connecting the power cables to the incorrect components can cause damage or malfunctions. Refer to the motherboard and PSU manuals for correct cable connections.
Installing and Securing Case Components
Proper case component installation ensures structural integrity and prevents potential damage during operation.
Install any additional components, such as fans, radiators, and case accessories. Secure them to the case using the provided screws and brackets. Ensure proper airflow within the case for optimal cooling. Over-tightening can damage the components. Verify that all components are properly secured before closing the case.
Component Installation Order
| Component | Installation Order |
|---|---|
| PSU | First |
| Motherboard | Second |
| CPU | Third |
| RAM | Fourth |
| GPU | Fifth |
| Storage Devices | Sixth |
| Case Accessories | Seventh |
Testing and Troubleshooting
Source: ytimg.com
Congratulations on assembling your custom PC! Now comes the crucial stage of verification and issue resolution. Thorough testing ensures your system operates as intended and helps identify any problems early on, saving you time and frustration.
Power-On Self-Test (POST)
The POST is the initial diagnostic process a computer performs when powered on. A successful POST usually results in a series of beeps or a message on the monitor indicating a clean start-up. Any unusual beeps or error messages are key indicators of potential hardware issues. Carefully noting these signals and researching their meanings is essential. This helps pinpoint the problem quickly.
Common Assembly Problems and Solutions
Incorrect component installation is a frequent source of problems. Double-check all connections, ensuring they are firmly seated and aligned correctly. Loose or misaligned cables, especially those connected to the motherboard, can cause intermittent issues or complete system failure. Use appropriate tools and proceed cautiously.
Troubleshooting Booting, Graphics, and Sound Issues
Boot problems can arise from various sources, such as faulty RAM, incompatible BIOS settings, or damaged hard drives. If the PC fails to boot, carefully review the POST messages. If possible, attempt to boot with just the bare minimum components (motherboard, CPU, RAM, and a monitor) to isolate the problem. Graphics problems, such as distorted images or screen flickering, often indicate issues with the graphics card, monitor, or drivers. Ensure the graphics card is correctly seated and the drivers are up-to-date. Sound issues, like no audio or distorted sound, can stem from faulty sound cards, incorrect audio cable connections, or driver problems.
Troubleshooting Hardware Conflicts
Hardware conflicts can occur when two or more devices try to use the same resources. This can manifest in various ways, such as erratic behavior, system instability, or boot failures. Review the motherboard manual to identify any potential conflicts between devices and their designated slots or ports. If conflicts persist, consider updating drivers or changing device settings.
Table of Common PC Errors and Possible Causes
| Error | Possible Cause |
|---|---|
| No POST beep codes | Faulty power supply, CPU, RAM, or motherboard |
| System boots but no display | Faulty graphics card, monitor cable, or graphics card connections |
| System beeps but fails to boot | Incompatible RAM, faulty hard drive, or incorrect BIOS settings |
| Erratic behavior or system crashes | Hardware conflicts, overheating, or corrupted files |
| No sound | Faulty sound card, incorrect audio cable connections, or driver problems |
Advanced Customization and Optimization
Beyond the basic assembly, further enhancing your custom PC involves advanced techniques for overclocking, cooling, and optimization. These steps can unlock hidden performance potential, but they also carry risks. Carefully consider these advanced options to maximize your system’s capabilities while maintaining stability.
This section delves into optimizing your PC beyond the initial setup. We’ll discuss strategies for overclocking, crucial cooling considerations, and methods to fine-tune your system for optimal performance. Understanding these techniques will empower you to get the most out of your investment.
Overclocking
Overclocking involves pushing your CPU and GPU beyond their manufacturer’s specifications. This can lead to higher clock speeds and improved performance, but it also introduces instability. Before embarking on overclocking, ensure you understand the potential risks and have the proper tools and monitoring capabilities.
Overclocking can increase the clock speed of components beyond their nominal rated speed. This often leads to a performance boost. However, pushing components beyond their thermal and electrical limits can result in instability or even damage. Proper monitoring and cooling are critical. For example, a 5% increase in clock speed might translate to a 10% increase in gaming frame rate, but that gain depends heavily on the specific hardware and the level of overclocking.
Cooling Solutions
Effective cooling is paramount for stable overclocking and overall PC performance. Insufficient cooling can lead to thermal throttling, which significantly reduces performance or even damage components. Choosing the right cooling solution is critical for maintaining system stability and longevity.
- Air Cooling: Often the more accessible option, air coolers range from simple tower-style models to advanced multi-fin setups. Their effectiveness depends on factors such as airflow, radiator size, and fan performance. A well-designed air cooler can effectively cool components in a standard case, but it may struggle with extreme overclocking scenarios.
- Liquid Cooling: Liquid cooling systems use a closed loop of coolant to transfer heat away from components. This often offers superior cooling capabilities compared to air cooling, particularly for high-end CPUs and GPUs. The higher cost and potential complexity of installation are important considerations.
Optimizing PC Performance
Beyond cooling, various methods can enhance your PC’s performance. These strategies often involve adjusting settings and configuring software to fine-tune the system.
- Software Optimization: Utilizing tools like MSI Afterburner or similar programs, you can tweak settings to fine-tune GPU performance. This can involve adjustments to power limits, fan curves, and other parameters.
- Driver Updates: Ensuring your hardware drivers are up to date is essential. Outdated drivers can lead to performance issues or stability problems. Regularly checking for updates from the manufacturers’ websites is recommended.
- Defragmentation: For storage drives, regular defragmentation can improve access times and overall performance, especially for older HDDs. Modern SSDs are less sensitive to defragmentation, but it might still offer marginal benefits.
Monitoring and Managing System Resources
Continuously monitoring system resources is crucial for detecting potential issues and ensuring optimal performance. Tools like Task Manager (Windows) and similar applications provide real-time insight into CPU usage, memory consumption, and disk activity.
- Resource Utilization: Monitoring CPU usage, memory, and disk activity is key. High usage rates in certain applications or components can indicate potential bottlenecks or inefficiencies.
- Thermal Monitoring: Tracking component temperatures is essential, especially during demanding tasks. High temperatures can trigger throttling, significantly impacting performance.
- Identifying Bottlenecks: Using monitoring tools, identify components that consistently use high resources. This can highlight potential areas for improvement, such as upgrading the bottleneck component or adjusting software usage.
Safety Precautions: Build Custom Pc Step By Step Guide
Source: ytimg.com
Building a custom PC involves handling delicate components susceptible to damage. Proper safety precautions are paramount to ensuring a successful build and preventing costly errors. These precautions focus on mitigating risks associated with static electricity and maintaining a safe work environment.
Careful attention to detail during the assembly process can significantly reduce the chance of encountering problems. By understanding and implementing the safety measures described in this section, builders can greatly minimize the potential for damage to their components and ensure a smooth and successful PC build.
Electrostatic Discharge (ESD) Prevention
Electrostatic discharge (ESD) is a significant threat to sensitive electronic components. ESD can cause irreversible damage, rendering components unusable or leading to malfunctions in the finished system. ESD is the sudden transfer of electric charge between two objects at different potentials. When this happens during PC assembly, it can damage integrated circuits, memory chips, and other components.
ESD Prevention Strategies
A crucial step in preventing ESD damage is the use of anti-static wrist straps. These straps connect to a ground, dissipating static electricity from the builder’s body to the ground, preventing it from building up and potentially damaging the components. Always wear an anti-static wrist strap connected to a grounded surface during assembly. Ensure the strap makes good contact with your skin. Further, work on a grounded surface, like an anti-static mat, which will also help to dissipate any static buildup.
Essential Safety Equipment
Proper safety equipment is vital for a safe and successful PC build. Using appropriate tools and equipment can minimize the risk of static discharge and other hazards.
- Anti-static wrist strap: This is essential to ground yourself and prevent static electricity from damaging components.
- Anti-static mat: A grounded mat provides a safe working surface to reduce the risk of ESD.
- ESD-safe tools: Use tools designed to minimize the risk of static discharge during handling.
- Properly grounded workbench: A grounded workbench reduces the risk of static buildup and prevents damage.
Grounding During PC Assembly
Grounding is critical to dissipating static electricity. A properly grounded workbench, anti-static mat, and wrist strap create a pathway for static discharge, preventing it from accumulating on components.
- Connect your anti-static wrist strap to a grounded surface. Ensure a secure connection to avoid interruption during assembly.
- Place components on the anti-static mat or grounded surface to maintain a consistent ground connection.
- Avoid touching components directly with bare hands. Use tools and tweezers to handle them when necessary.
Importance of Proper Ventilation
Adequate ventilation is crucial for the longevity and performance of a PC. Proper airflow prevents overheating, which can lead to component failure or reduced performance.
- Proper airflow around the PC case is essential for efficient heat dissipation.
- Ensure the case has sufficient ventilation to prevent overheating of components. Use fans as needed to support airflow within the PC.
- Avoid placing the PC in confined spaces, as this can impede proper ventilation.


Post Comment